
SDDC Enterprise: Content Libraries
SDDC Enterprise: Content Libraries
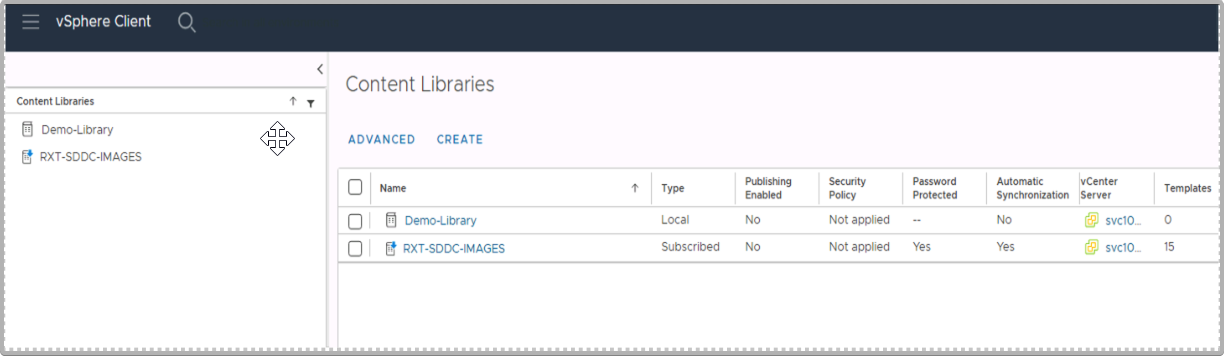
Rackspace Provided Content Library
A pre-configured content library is provided by default and is configured at build time. The library is subscribed to Rackspace internal systems and will synchronize automatically as updates are available.
- CentOS
- Microsoft Windows Server 2016
- Microsoft Windows Server 2019
- Microsoft Windows Server 2022
- Oracle Linux 7.9
- Oracle Linux 8.3
- Red Hat Enterprise Linux 7.7
- Red Hat Enterprise Linux 8.1
- Ubuntu Linux
Customer Content Library
SDDC Enterprise allow the creation of Content Libraries that can be used to upload customer owned templates and ISOs. Below are the steps required to create a content library within your environment.
-
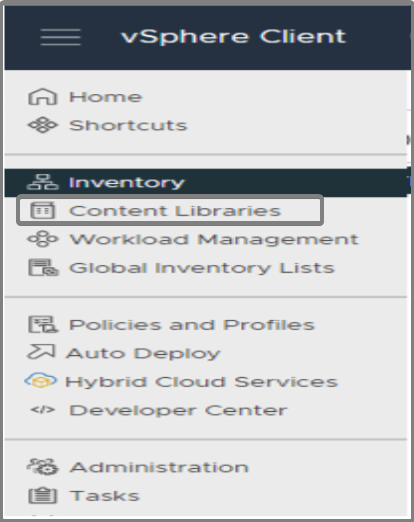
Click on vSphere Client.
-
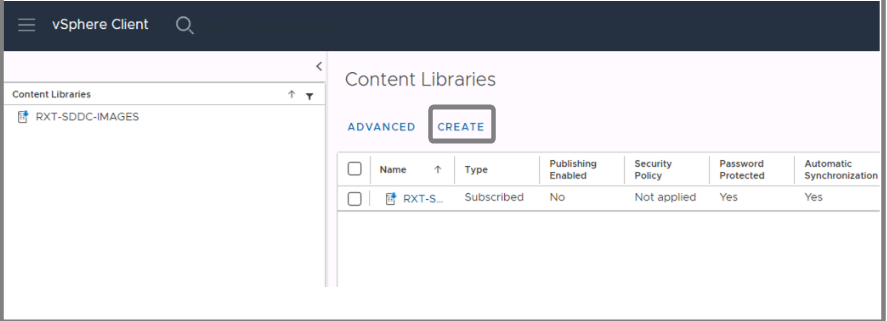
Click on Content Libraries.
-
Click create.
-
Provide a name for the library, your vCenter server should be selected by default.

-
Click Next.
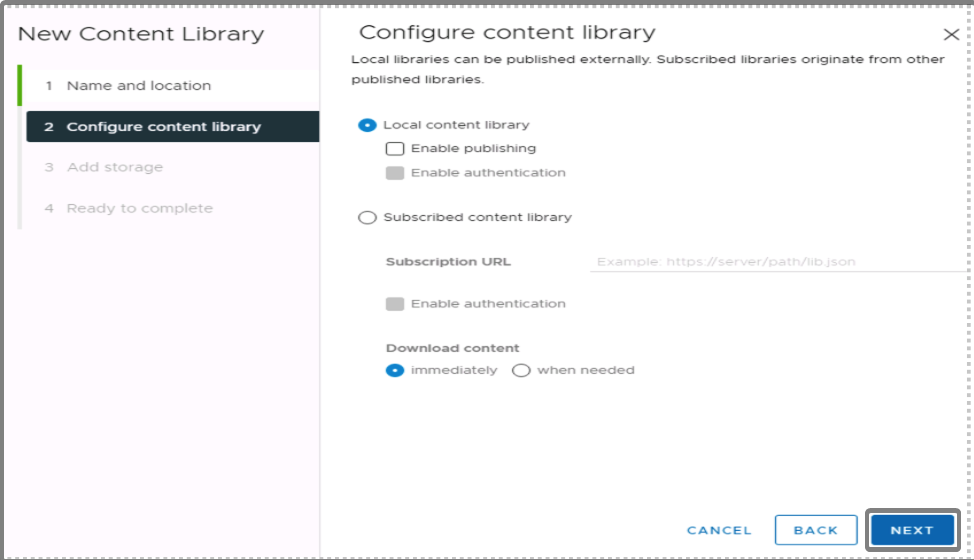
- Local content library: A local content library is accessible only in the vCenter Server instance where you create it by default.
(Optional) To make the content of the library available to other vCenter Server instances, select Enable publishing. - Local content library: A subscribed content library originates from a published content library. Use this option to take advantage of already existing content libraries.
- Download Content: Immediately
- Local content library: A local content library is accessible only in the vCenter Server instance where you create it by default.
-
Click Next.
- (Optional) On the Apply security policy page, select Apply Security Policy and select OVF default policy.
-
Click Next.
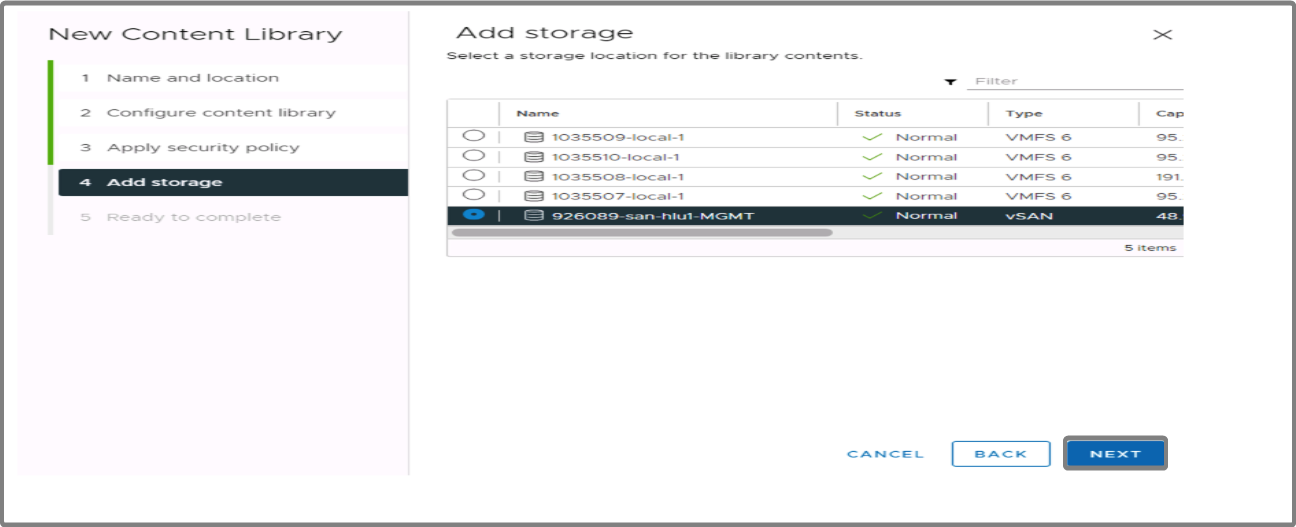
- Add storage: Select your storage LUN.
-
Click Next.
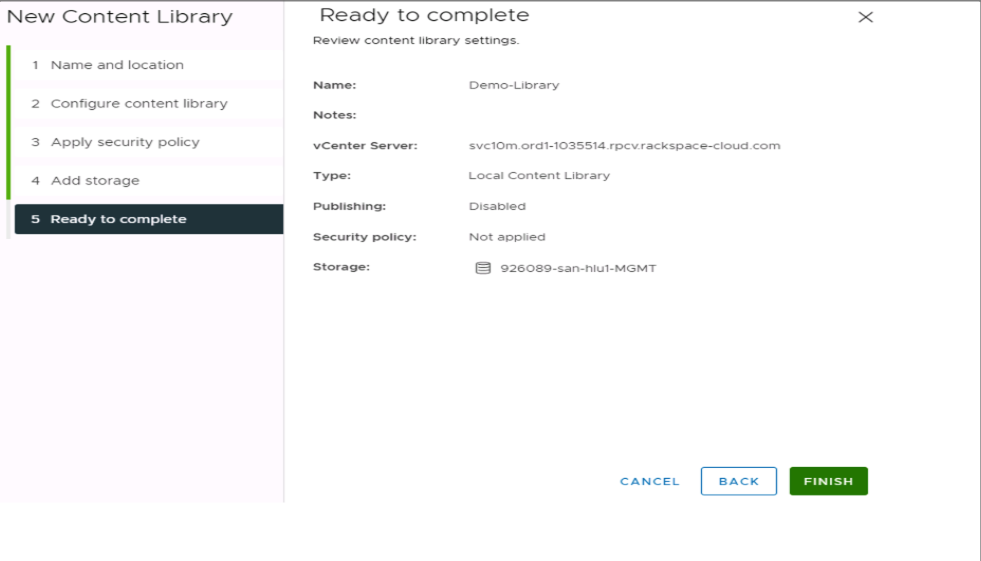
- Review the settings, click Finish to start the content library creation.

Upload Customer Images
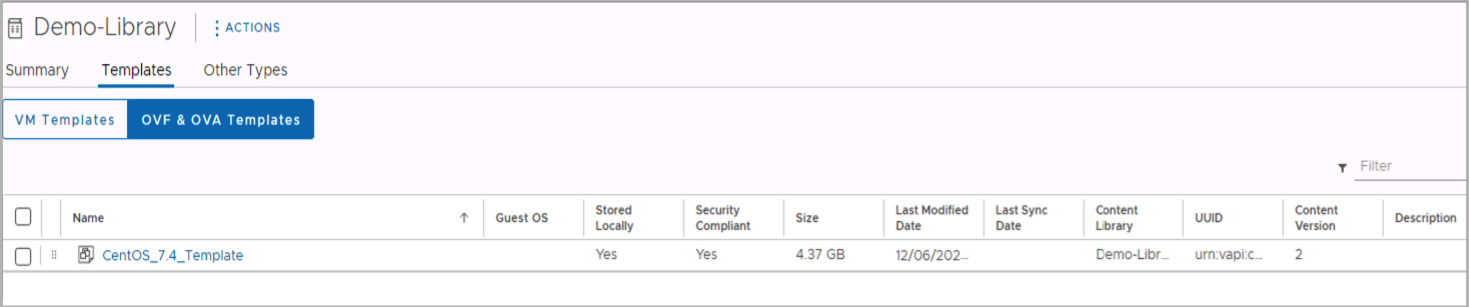
SDDC Enterprise provides the ability to upload templates and media files to your content library. These files can be used to create or update virtual machines.
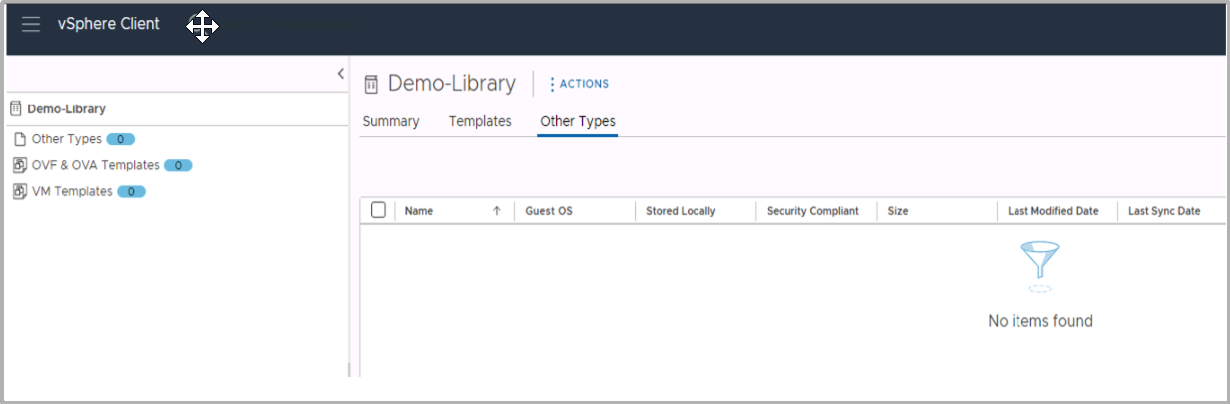
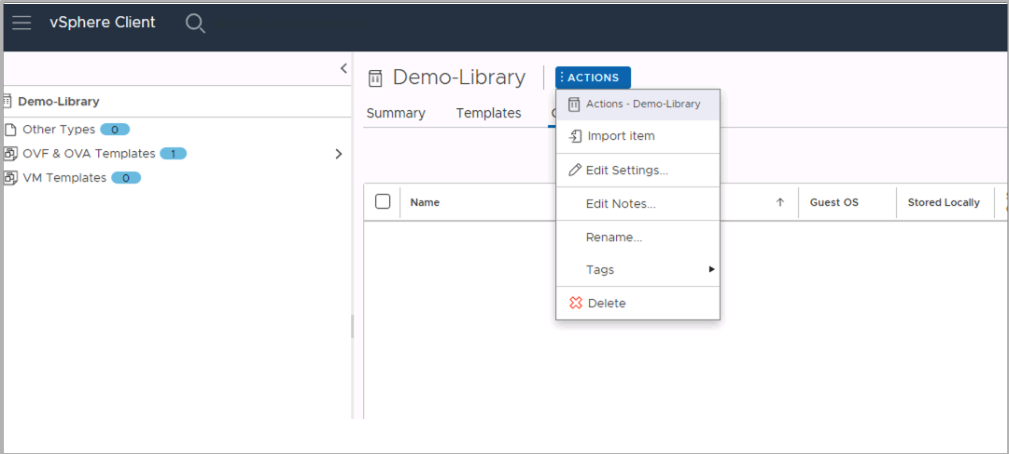
Click on your library.
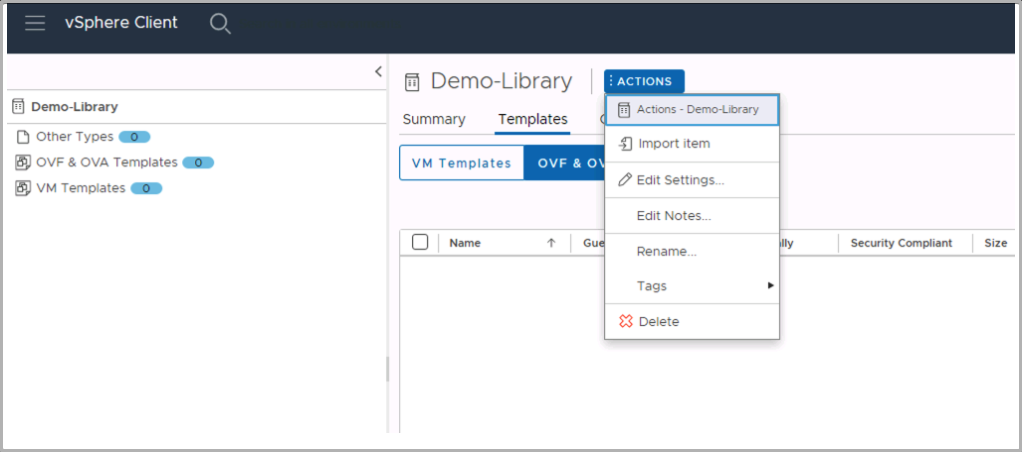
Click on OVF & OVA Templates
Click on Actions then import item
You can provide a URL where your OVA is hosted or provide the path to a local file.
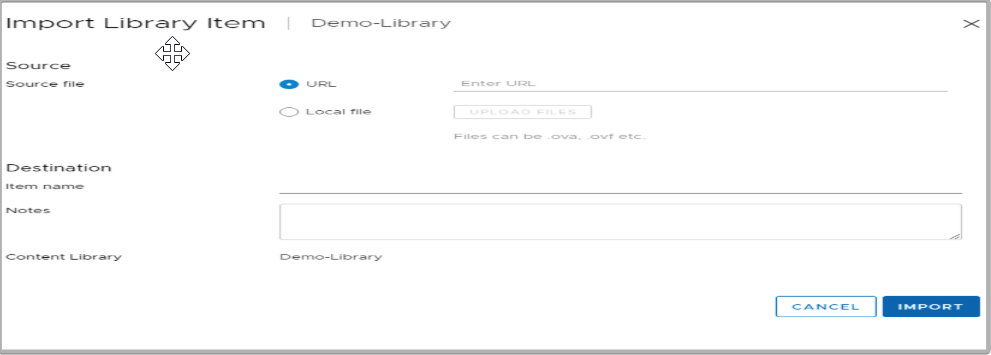
Provide a name for the image and confirm the content library

Click Import
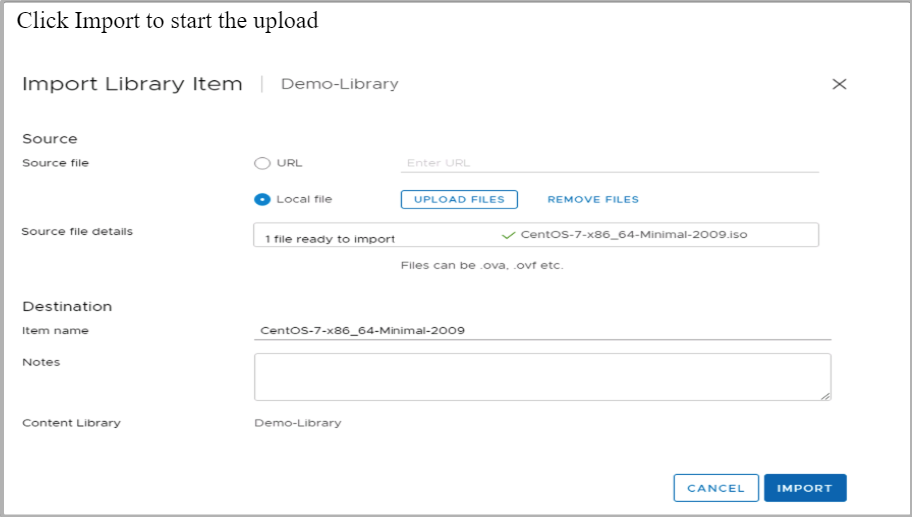
Upload an ISO to the content library
Click on your library
Select Other Types
Click Actions, Import item
You can provide a URL where your OVA is hosted or provide the path to a local file.
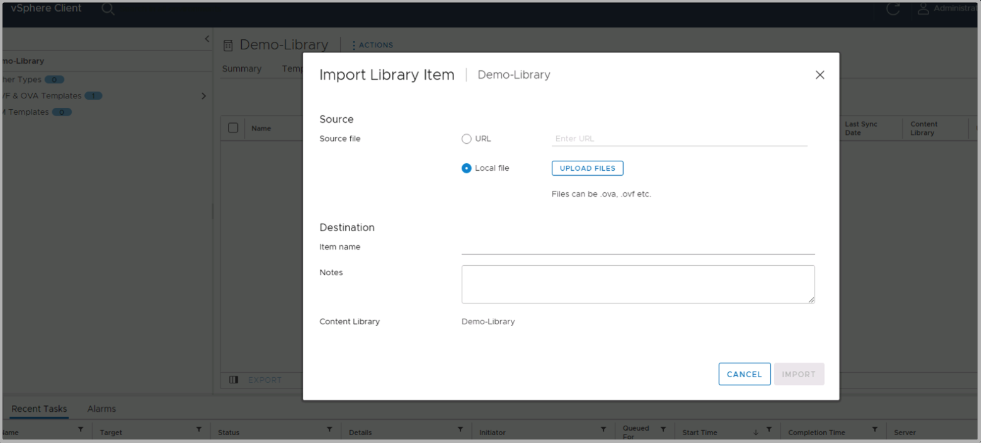
Click Upload files
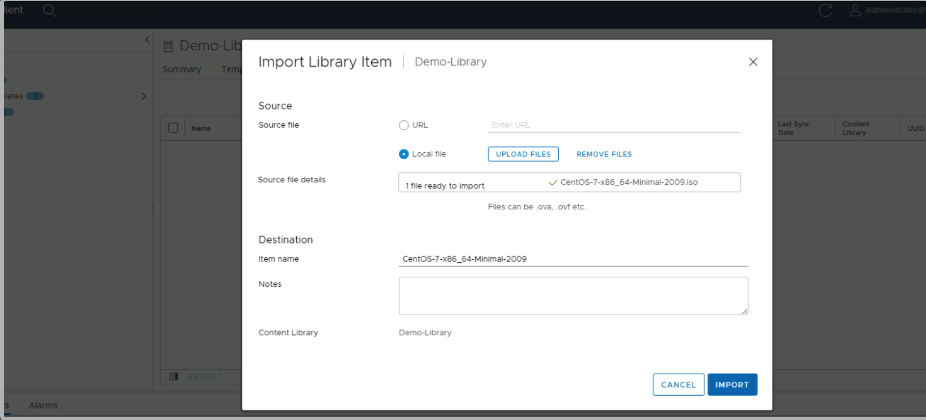
Click Import to start the upload


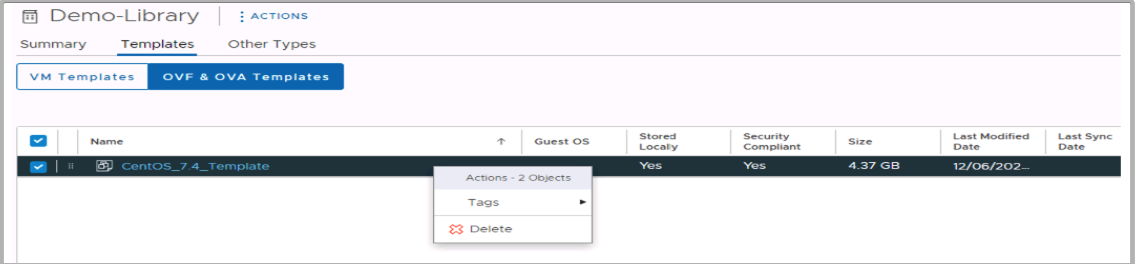
Delete Images
Navigate to the content library that contains the image Select the image, right click, and select Delete
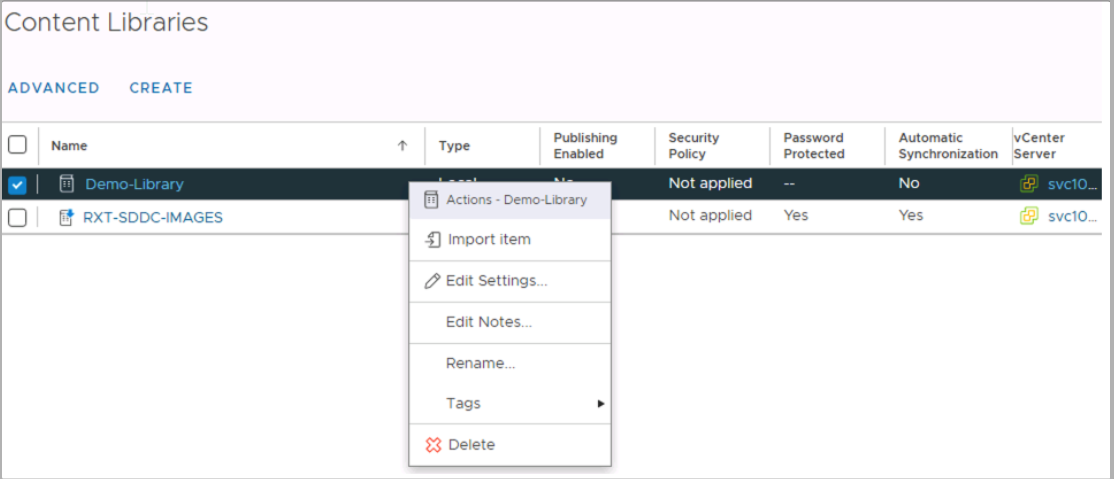
Delete Content Library
- Navigate to the content libraries
- Select the content library to delete
- Right click Delete
Updated 8 months ago