
Transfer a Volume to Another Rackspace Cloud Project
Moving a volume between two Rackspace Cloud on OpenStack Flex Projects
IMPORTANT: This process allows you to hand off a volume to a different project (tenant) in OpenStack. This means you relinquesh control of the volume and essentially give it to another project. It will no longer be in the source project after the share is accepted.
If you want to maintain the volume AND share it - it's best to clone the volume and then share the clone, so that you maintain a copy for yourself.
Prerequisites
- You must have access to the OpenStack CLI for Rackspace Cloud.
- Both sender and recipient must have Rackspace Cloud on OpenStack Flex accounts.
- The recipient can use the Skyline UI to accept the transfer or the CLI.
- The volume must be in
availablestate (i.e., not attached).
1: Create the Volume Transfer Request (Sender)
openstack volume transfer request create <volume-id> --name my-transferThis command will return:
transfer_idauth_key
Save both values securely — they are required to complete the transfer.
2: Share the Transfer Details
Send the transfer_id and auth_key to the recipient (securely, e.g., via encrypted message).
3: Accept the Transfer (Recipient)
CLI Method:
The destination project (e.g., source a different openrc.sh) will then then run:
openstack volume transfer request accept <transfer-id> --auth-key <auth-key>Skyline UI Method:
The destination project will access their project in the Skyline UI. They will navigate to Storage > Volumes and then click the Accept Volume Transfer button.
Next, they'll enter the Transfer Details provided by the sender.
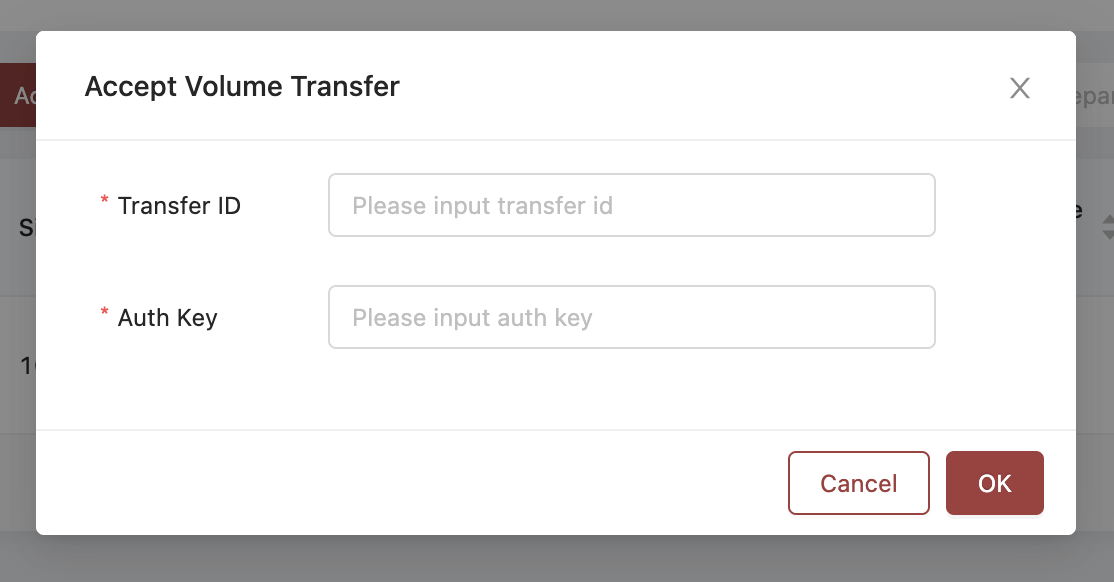
Enter the Transfer ID and Auth Key and press OK
This completes the transfer, and the volume now belongs to the recipient's project.
Notes
- The volume will retain its data but move entirely to the new project.
- You can only transfer volumes that are not attached to any server.
- Quota limits still apply to the receiving project.
Updated 6 months ago