
SDDC Business Virtual Machines
SDDC Business Virtual Machines
Understanding VMware vCenter
VMware vCenter® is a centralized server used to manage your VM environment. Rackspace Technology Support also uses the VMware vCenter user interface to connect to and manage your ESXi hosts. SDDC Business offering provides access to VMware vCenter or a vSphere Client.
Understanding vCPU
A VM includes one or more virtual central processing units (vCPU). By allocating vCPUs to VMs, you can share physical CPUs on the hypervisor with the VMs.
Over-allocating CPU can negatively impact system performance. You should only allocate as many vCPU resources as your VM needs. If you allocate more cores than you need, you waste CPU cycles that could be used by your other VMs.
Understanding vRAM
You can allocate physical RAM on the hypervisor to the VMs as virtual RAM (vRAM). If you allocate more vRAM than is physically installed, application performance can suffer because of the techniques that ESXi uses to reclaim memory, such as memory swapping and memory ballooning. You should only allocate as many vRAM resources as your VM needs.
Deploy Virtual Machine from Template
-
Right click the Compute-ResourcePool resource pool.
-
Click New Virtual Machine.

-
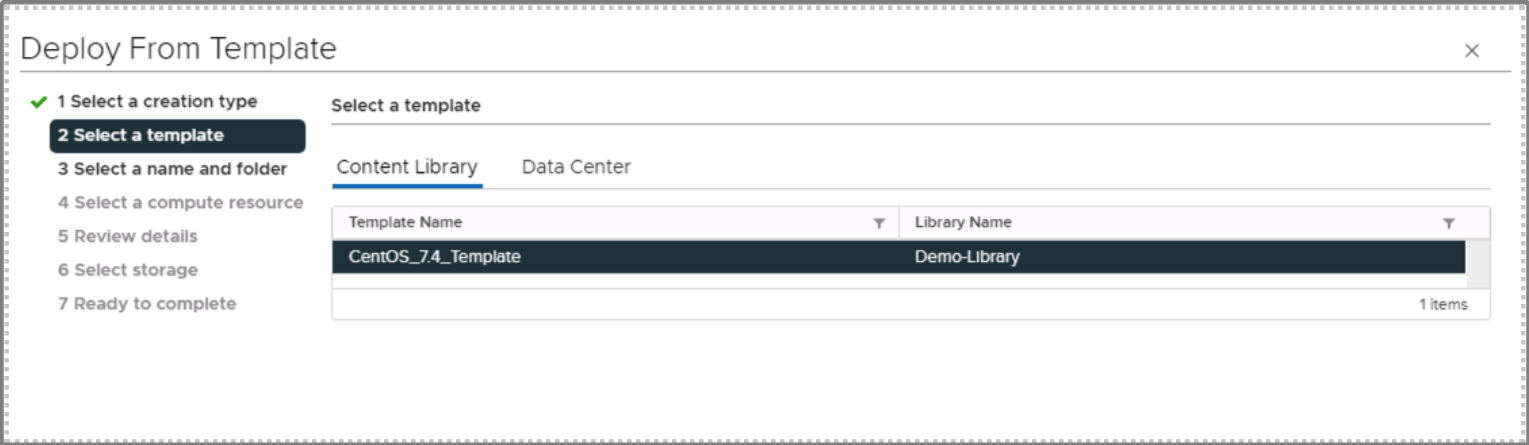
Deploy from template.
-
Choose the template.

-
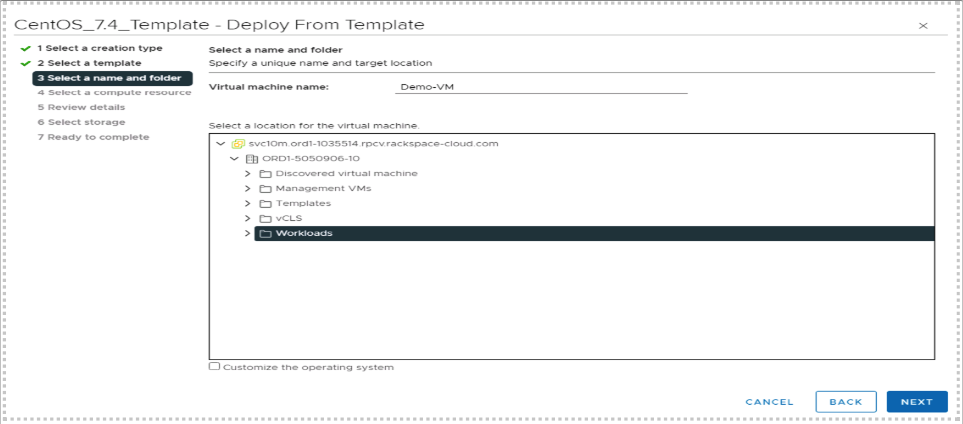
Provide a name for the Virtual Machine and choose the Workloads folder. Click Next.
-
Ensure the Compute-ResourcePool is selected, click Next.
-
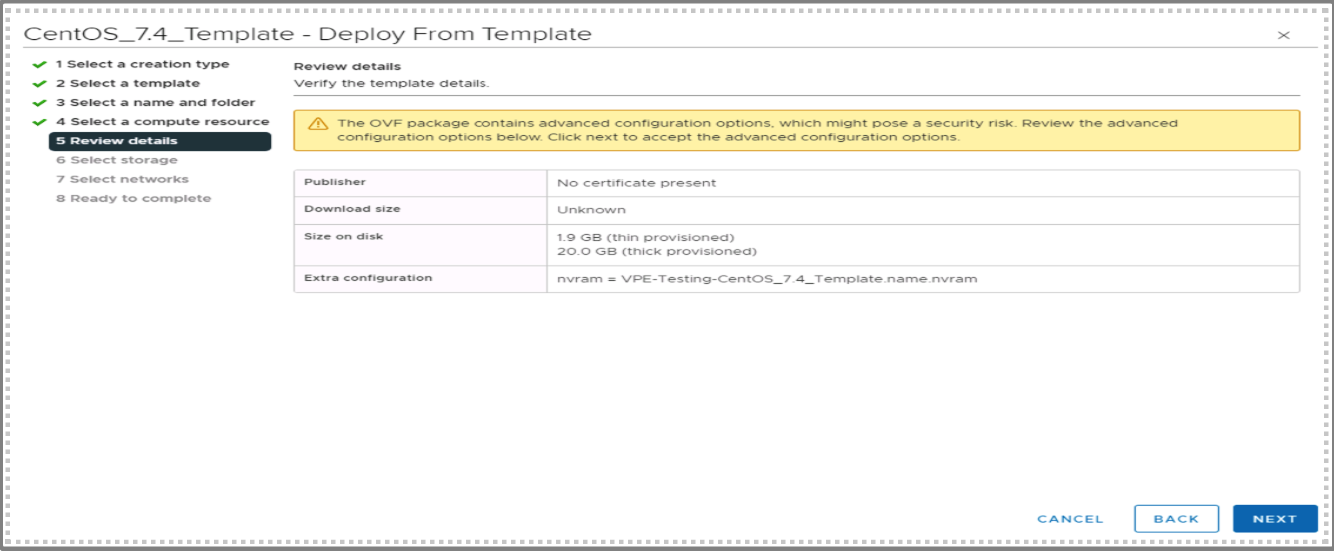
Review the details, click Next.

-
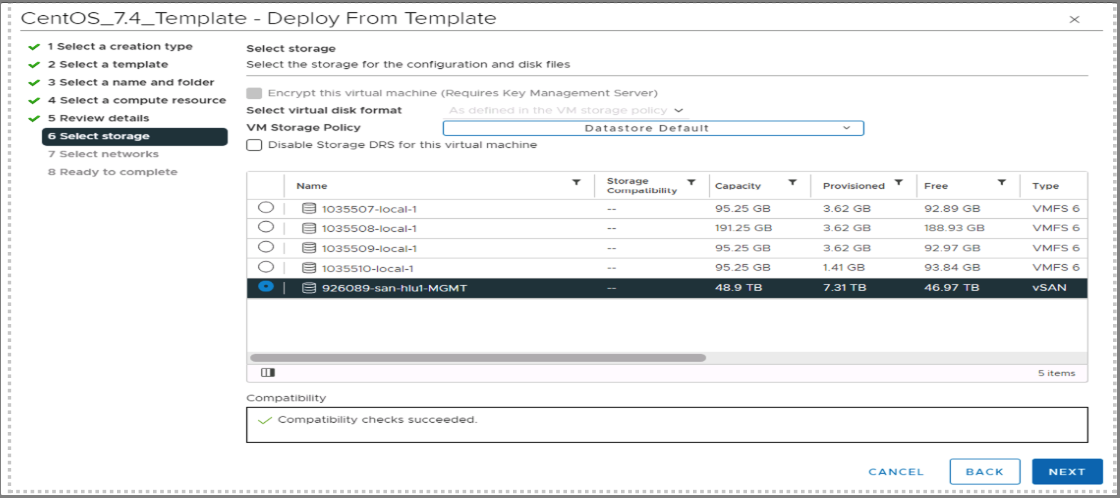
Ensure the storage LUN is selected, click Next.
-
Select Network, click Next.

-
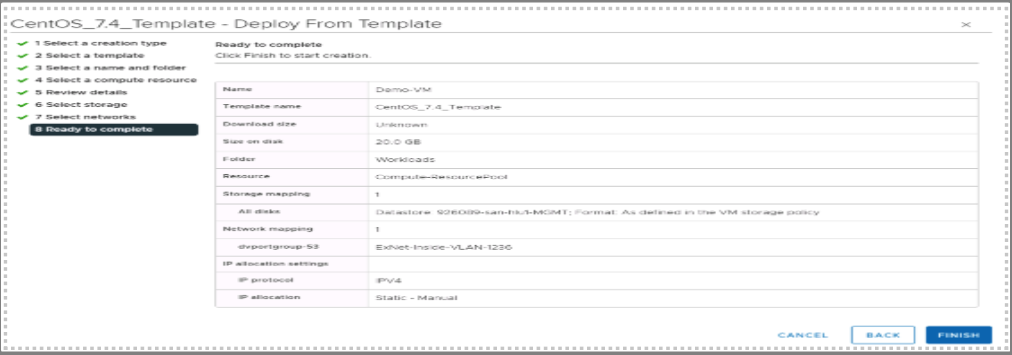
Review the details, click Finish to start the virtual machine deployment.

-
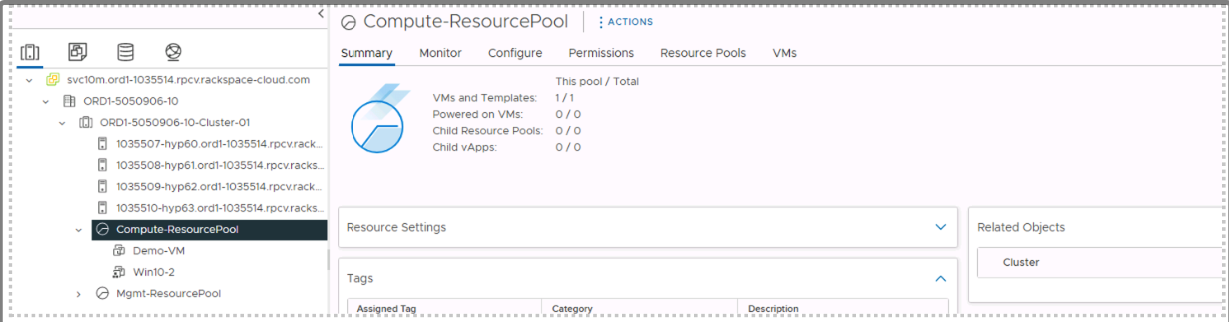
The VM should be visible under the Compute-ResourcePool.
-
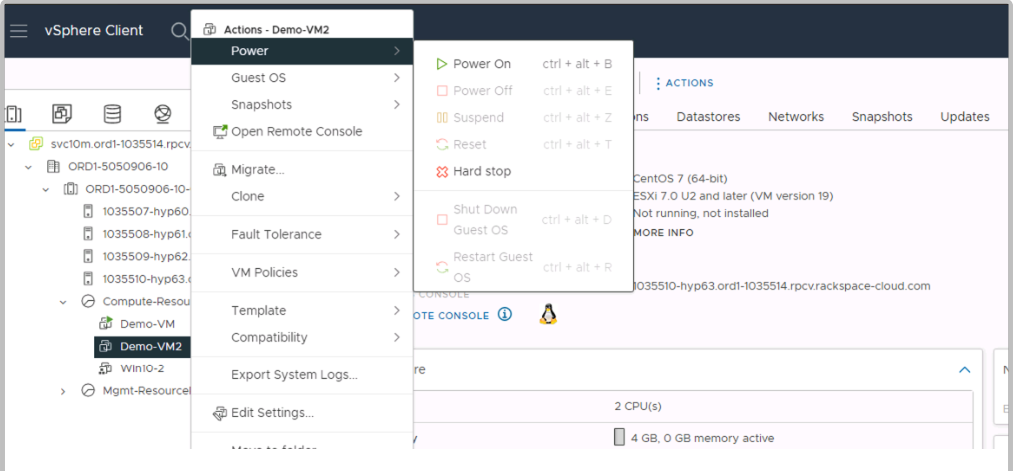
Right click on the VM, Power > Power On to start the VM.


Deploy Virtual Machine Template Using OS Customization Spec
-
Right click the Compute-ResourcePool resource pool.
-
Click New Virtual Machine.

-
Deploy from template.
-
Choose the template.
-
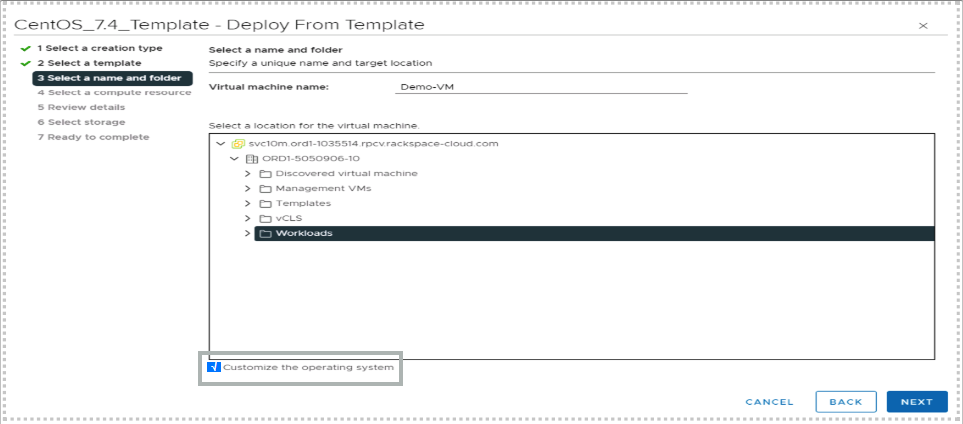
Provide a name for the Virtual Machine and choose the Workloads folder and check the "Customize the operating system" check box. Click Next.
-
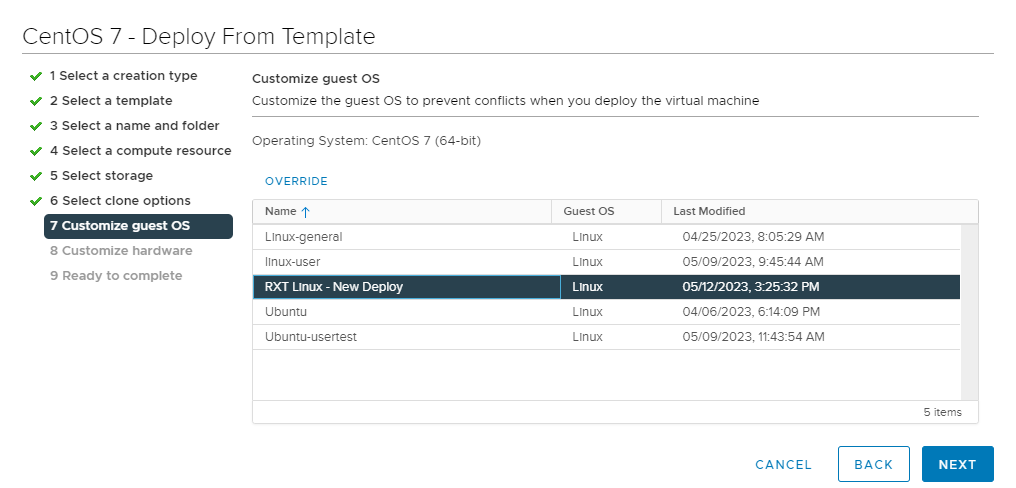
Select 'RXT Linux - New Deploy' or 'RXT Windows - New Deploy' depending on your OS, click Next.
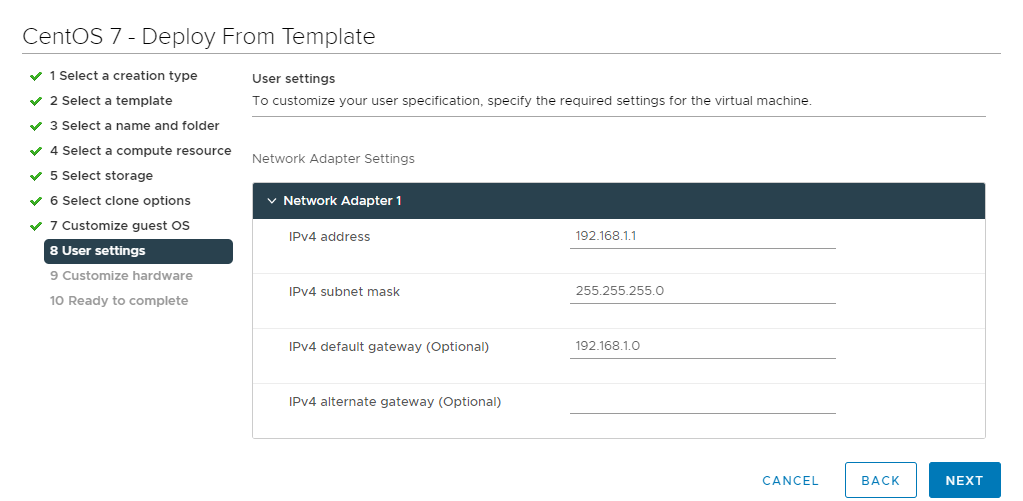
- Enter your desired IP Address, Subnet Mask and Gateway information, click Next.
-
Ensure the Compute-ResourcePool is selected, click Next.
-
Review the details, click Next.
-
Ensure the storage LUN is selected, click Next.

-
Select your desired Virtual Network for your network adapter(s), click Next.
-
Review the details, click Finish to start the virtual machine deployment.


-
The VM should be visible under the Compute-ResourcePool.

-
Once the "Deploy OVF template" task completes, Power On the VM.
-
The VM will start and may reboot once to complete the OS customization process.
- NOTE: Do not power cycle the VM until you haveretrieved your initial login credentials.
Fetching Initial Admin Credentials
The following steps will explain how to retrieve the initial admin password:
-
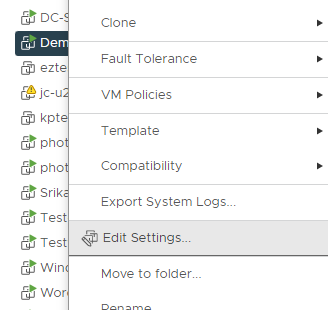
Right-click the VM in vCenter, click Edit Settings
-
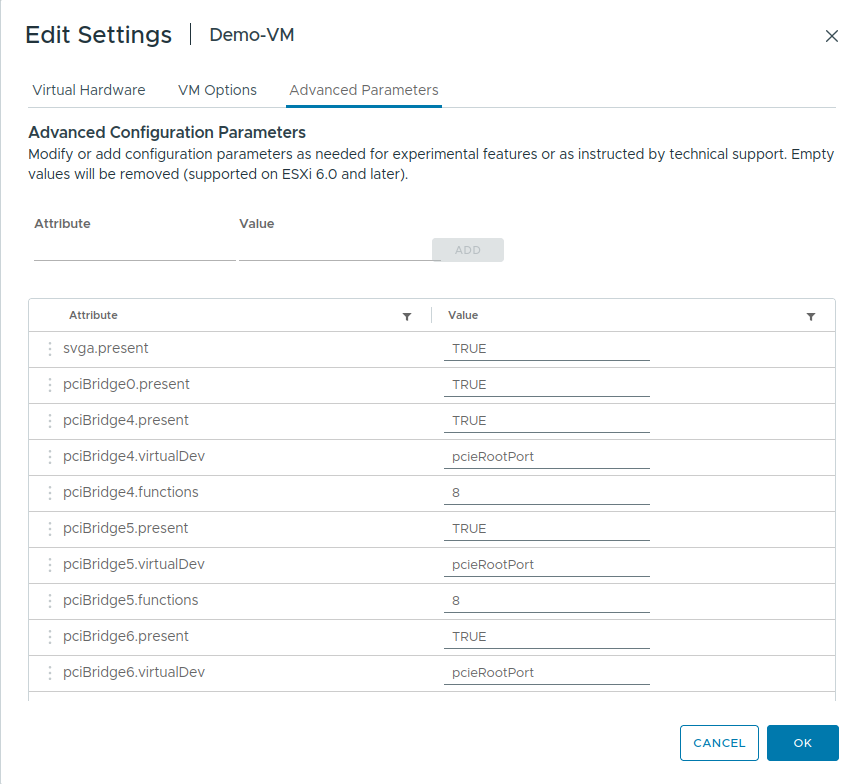
Click the Advanced Parameters tab
-
Scroll down. The initial admin password can be found in the value column next to 'guestinfo.custom.password'
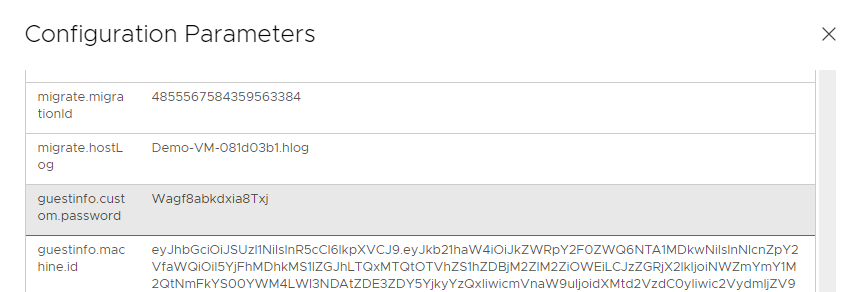
- NOTE: DO NOT Power cycle the VM (Power Off / Power On) until you have retrieved the initial admin credentials. The metadata key will disappear when you power off the VM!
Ubuntu Only - Manual Networking Config
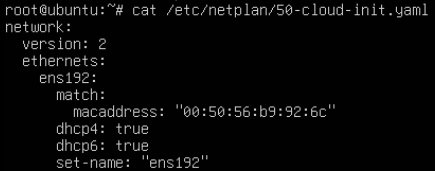
For newly-created Ubuntu VMs, you will need to login via console as root using the guestinfo.custom.password retrieved above, and manually configure networking.
-
Edit /etc/netplan/50-cloud-init.yaml. It should initially look similar to this:
-
You should turn off dhcp, set the IP to the one you chose while creating the VM, and setup the default gateway and DNS servers. When you are done, it should look something like this:

-
Now type netplan apply to activate your networking setup.
- NOTE:We maintain a pair of caching nameservers in each data center. You should use the nameserver IPs for your data center, as detailed here.
Deploy Virtual Machine from ISO
-
Right click the Compute-ResourcePool resource pool.
-
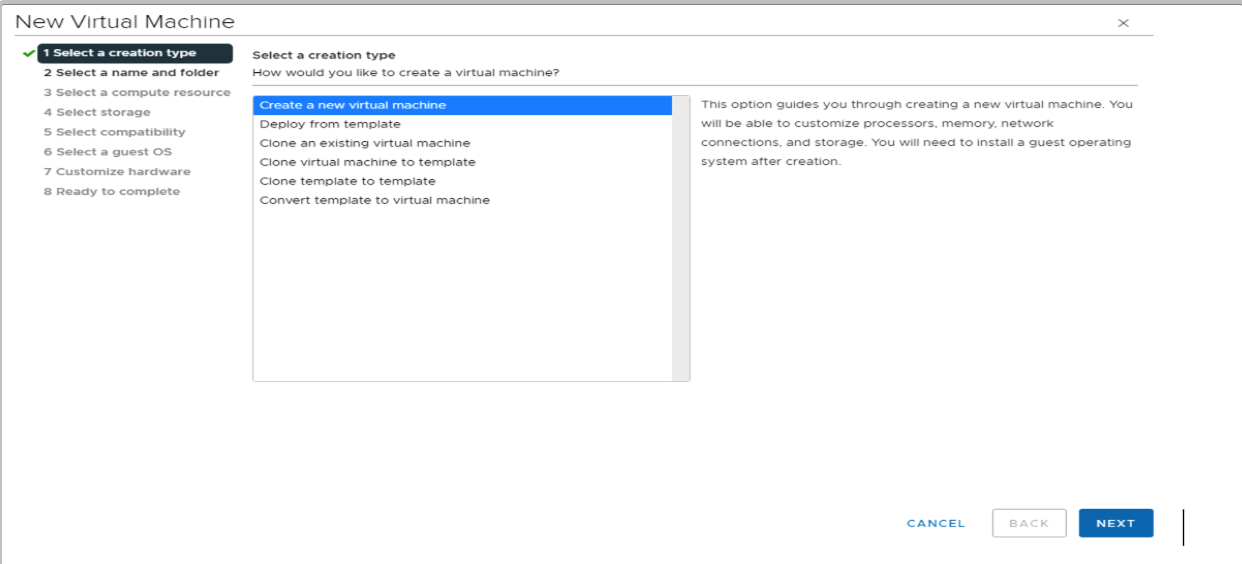
Click New Virtual Machine, Click Next.
-
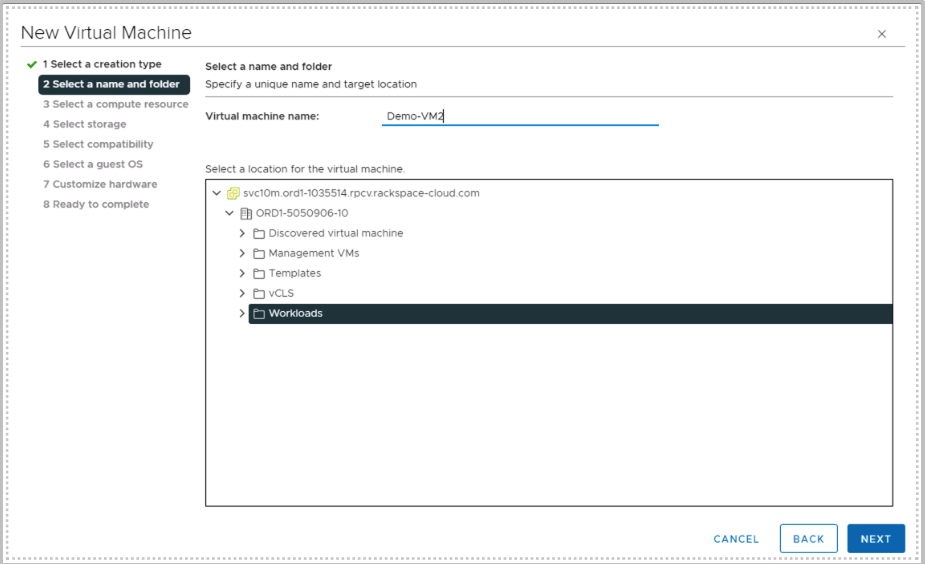
Provide a name for the virtual machine, select the Workloads folder, click Next.
-
Ensure the Compute-ResourcePool is selected, click Next.

-
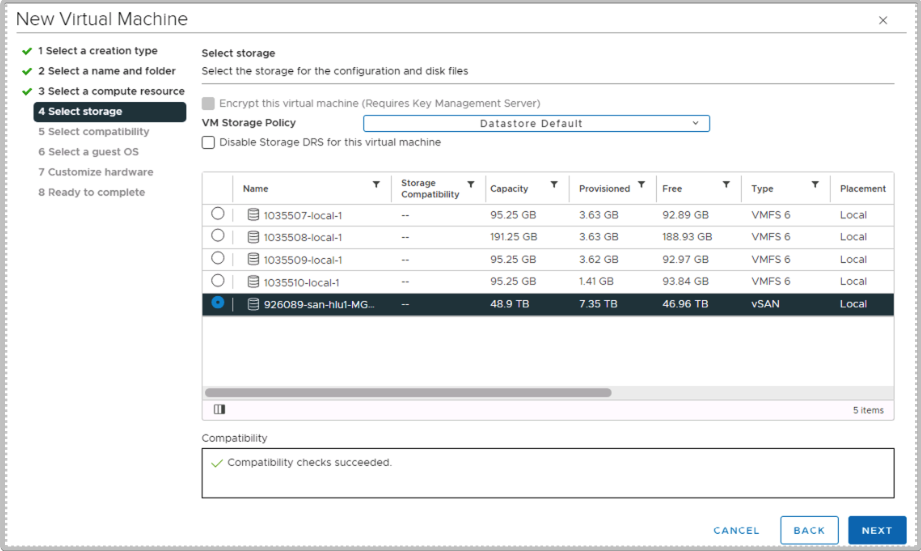
Select your storage LUN.
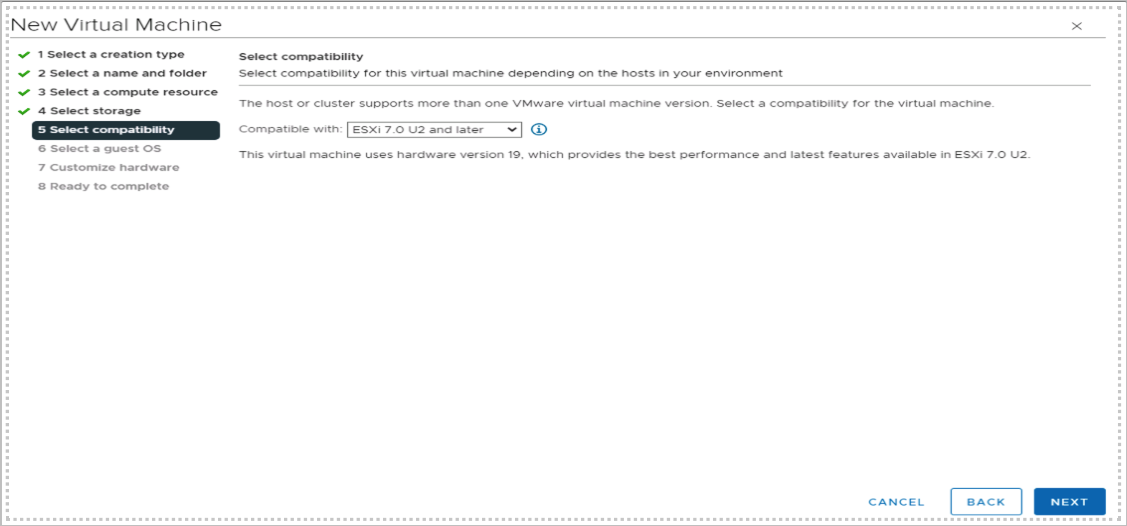
-
Keep the VM compatibility as default, click Next.
-
Select your Guest OS Family Windows/Linux or Other. Choose your Guest OS Version.
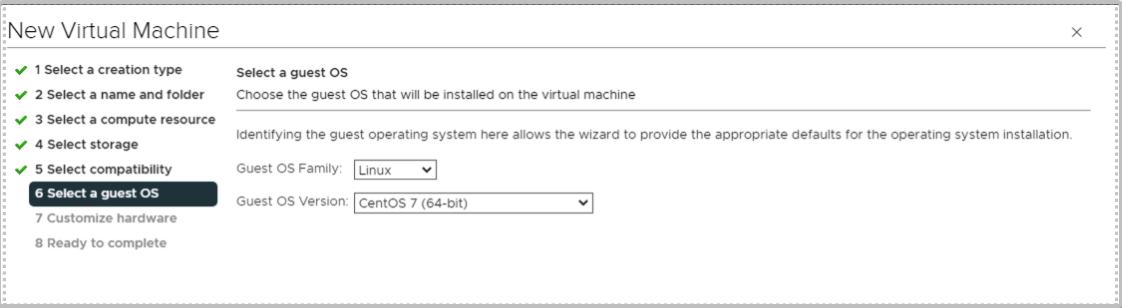
-
Click Next.
-
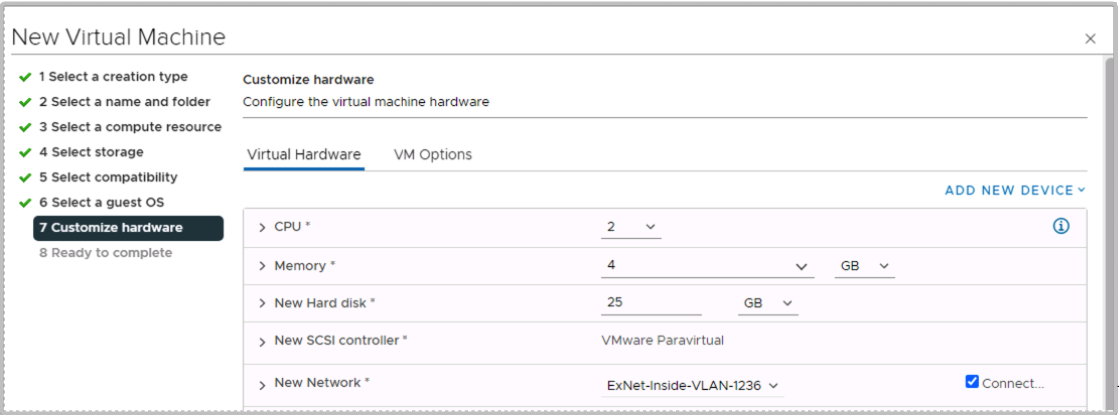
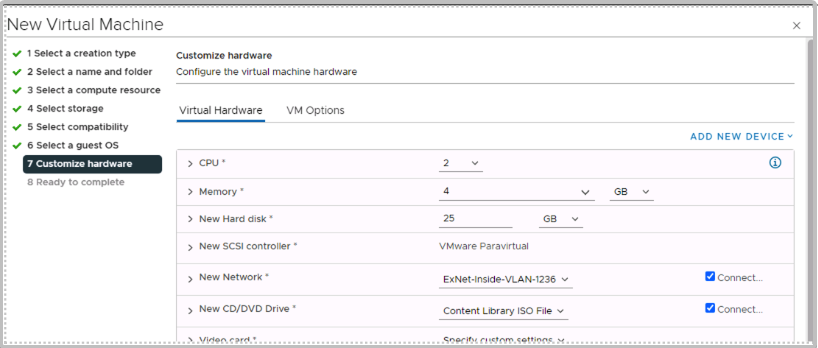
Configure your Virtual Machine CPU and Memory, size of the Hard Disk, Network segment.
-
Click on the new CD/DVD Drive dropdown, select Content Library ISO File.
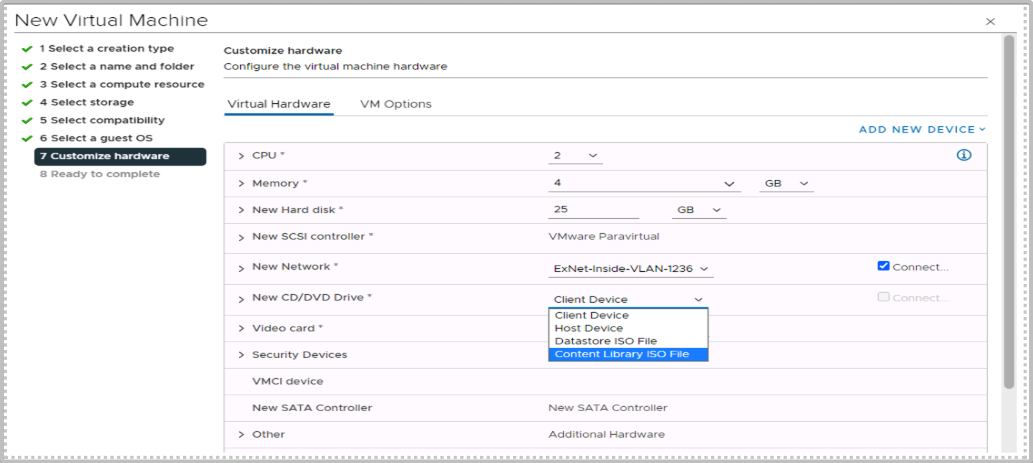
-
Select the ISO that you would like to use, click OK.
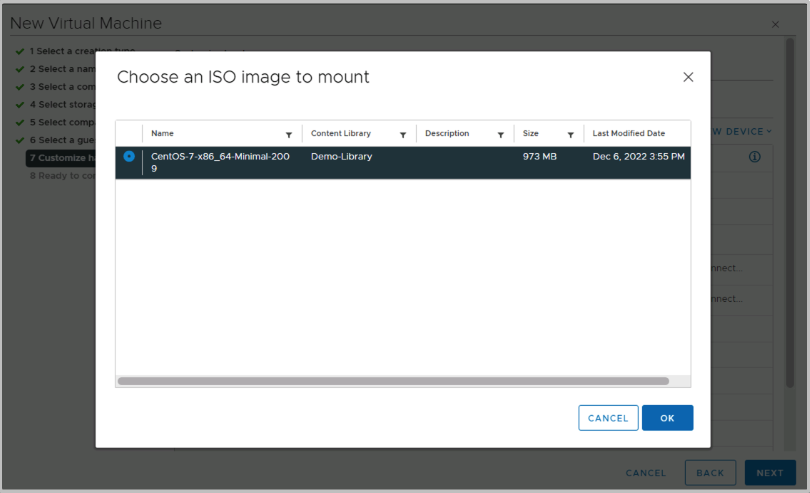
-
Ensure that the drive is connected.
-
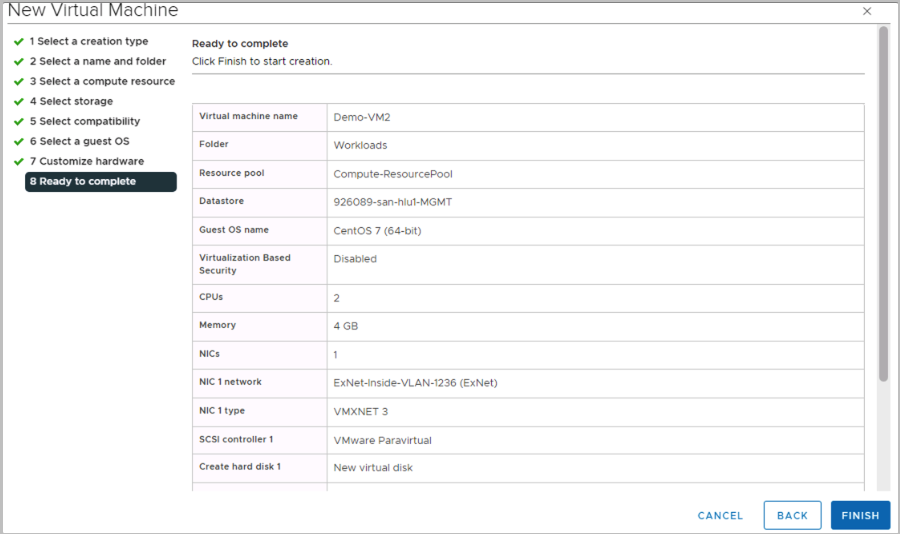
Click Next, review your setting then click Finish to start the deployment.
-
Your Virtual machine should be visible under the Compute-ResourcePool.
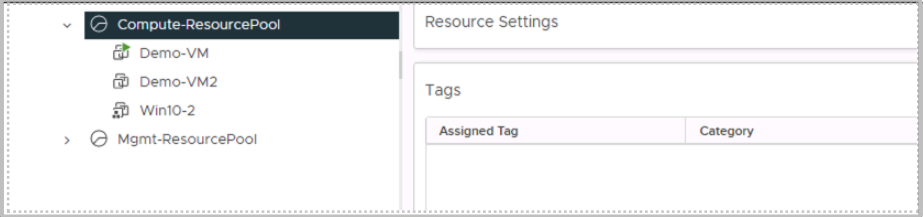
-
Right click on the Virtual Machine, Power, Power On to start the Virtual Machine.
-
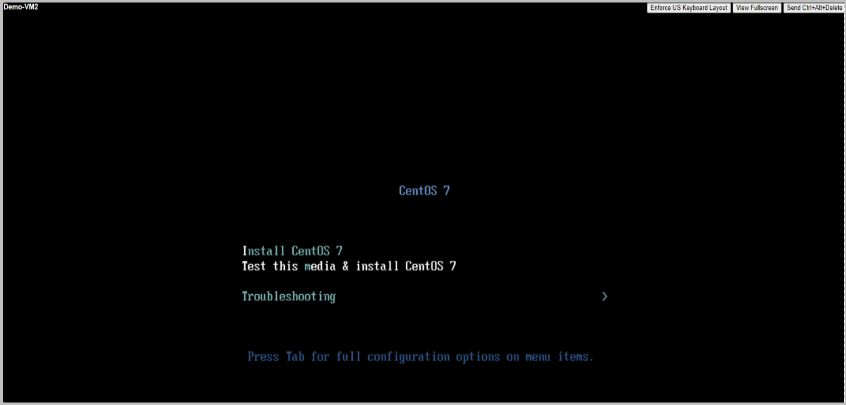
The Virtual Machine should boot using the ISO, the installation process can start.
VMware Tools Installation
VMware Tools is a suite of services and components that enhances the performance of the virtual machine and enable several features for better management and user interactions with guest operating system.
Prerequisite
- Powered on virtual machine with a running operating system.
- A user with administrative privileges
Windows VMware Tools Install
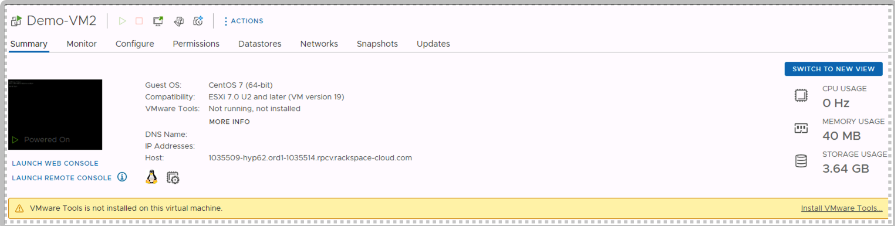
- VMs without VMware Tools installed, will show a message on the console.
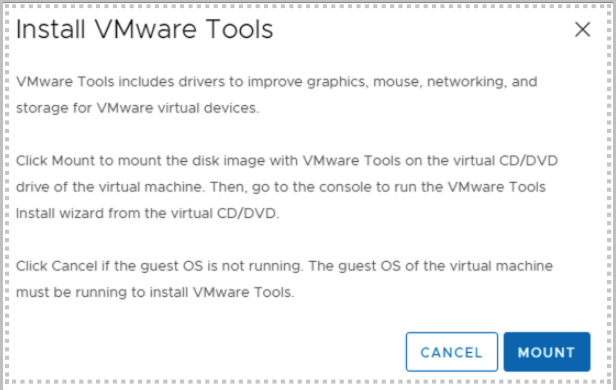
- Click on install vmware Tools on the message or right click on the VM, click Install VMwareTools.
- Click Mount, this will trigger the vmware Tools install process.

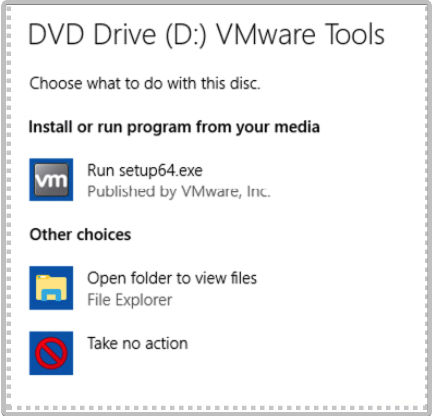
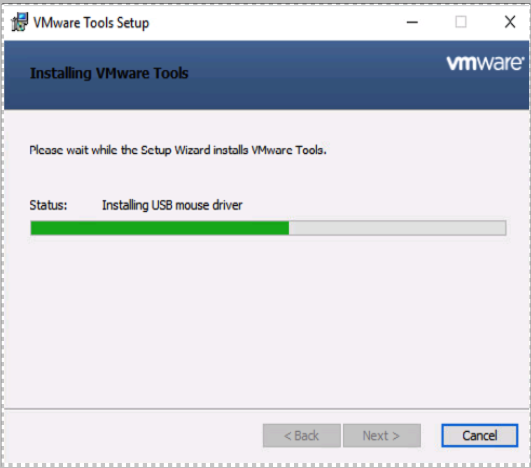
- Click Run setup64.exe.
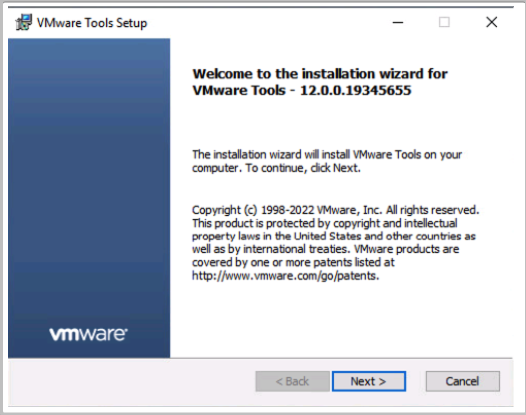
- Click Next.
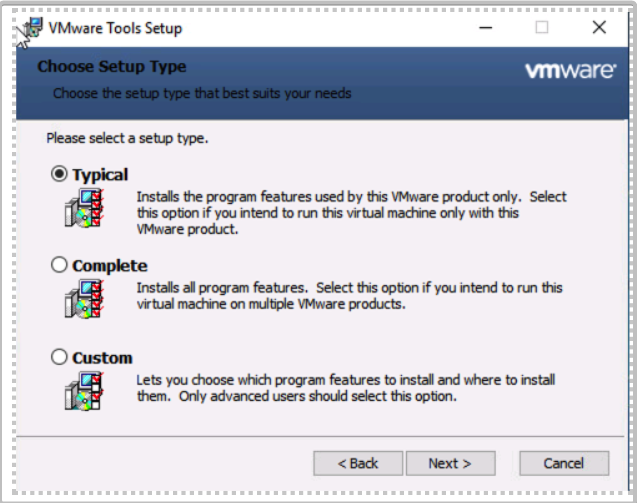
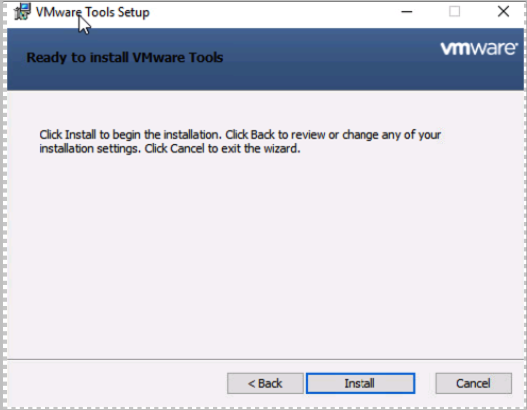
- Choose Typical, click Next, click Install to begin the install.
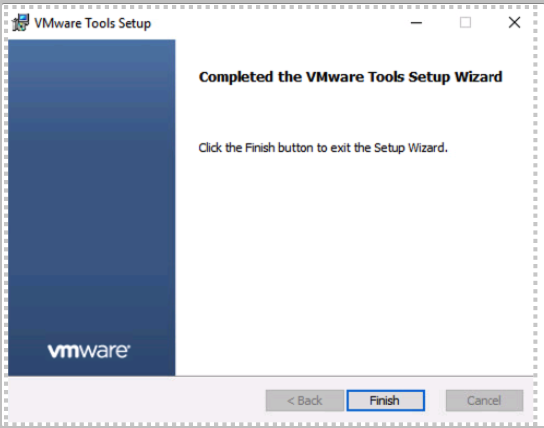
- Click Finish to complete the install. Please reboot your Virtual Machine.

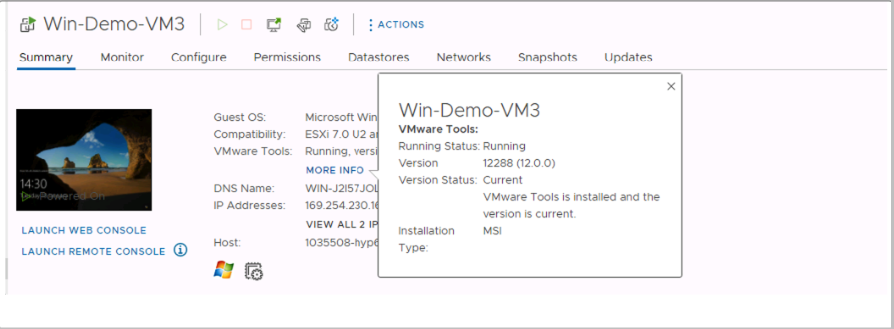
- The vmware tools should now show as current and running.
Linux vmware Tools Install
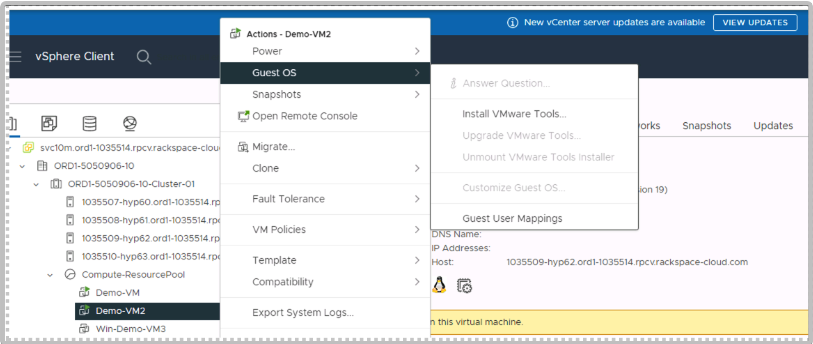
- Right click VM in the virtual machine menu, then click Guest > Install/Upgrade vmware Tools. Click Mount.
- Create a Mount Point
mkdir/mnt/cdrom- Mount the CDROM
mount/dev/cdrom/mnt/cdrom

- Copy the tar file
cp/mnt/cdrom/vmwareTools-version.tar.gz /tmp/

- Change to the tmp directory and extract the files
tar -zxvf vmwareTools-version.tar.gz
- Change to the vmware-tools-distrib directory and run the vmware-install.pl.

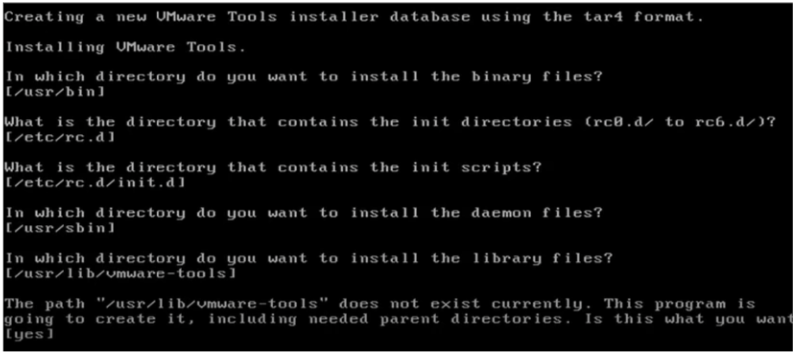
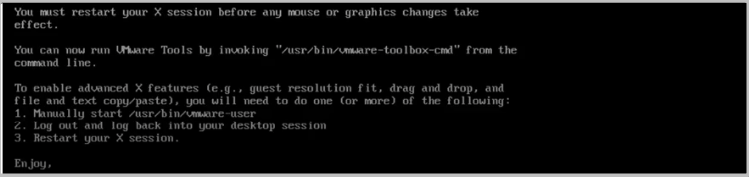
Install now complete.
Request a Public IP
To request a public IP for your workload. Please reach out to support teams by raising a ServiceDesk ticket.
Working With Tags
Your VMware vCenter Server provides a feature called Tags that allows you to organize and categorize your virtual resources, such as virtual machines, templates, and virtual appliances. Tags can be used to group resources based on different criteria, such as department, application, or environment.
You can create and manage tags using the vSphere Web Client, which is the primary user interface for vCenter Server. To create a new tag, you can go to the Tags section of the vSphere Web Client and click on the “New Tag” button. You’ll then be prompted to enter a name and description for the tag, and to choose a category. You can also assign an icon to the tag to help differentiate it from other tags.
Once you’ve created a tag, you can apply it to one or more virtual resources. For example, you can go to the “Virtual Machines” section of the vSphere Web Client and select one or more virtual machines, then click on the “Actions” button and select “Assign Tag”. You’ll then be prompted to select the tag that you want to assign to the virtual machine(s).
You can also use the vSphere API to create and manage tags programmatically. The vSphere API provides a set of services and methods for creating, retrieving, updating, and deleting tags, as well as for working with other vCenter Server objects, such as virtual machines and datacenters. You can use one of the vSphere SDKs, such as the vSphere Management SDK, to interact with the vSphere API and automate various tasks related to vCenter Server.
You can also find vCenter tag automation using PowerCLI which is a PowerShell interface for managing vSphere environments. You can use PowerCLI to automate various tasks related to vCenter Server, including creating, modifying and deleting tags.
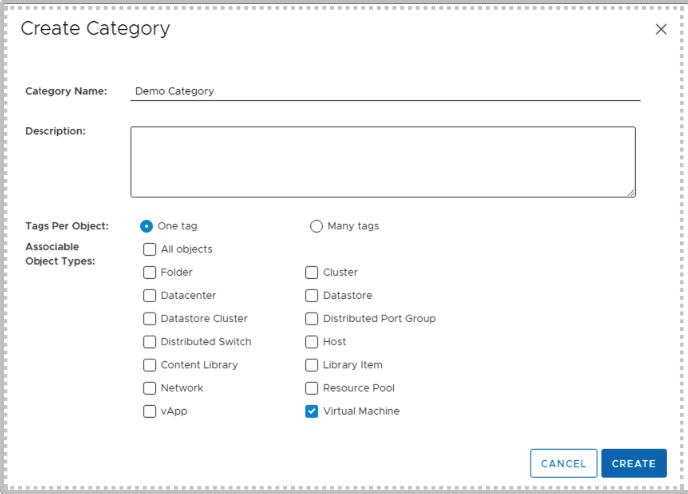
Creating a Tag Category
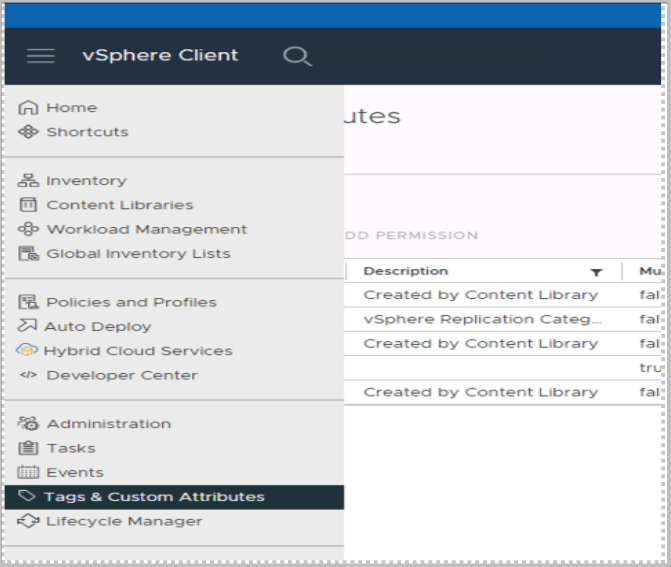
-
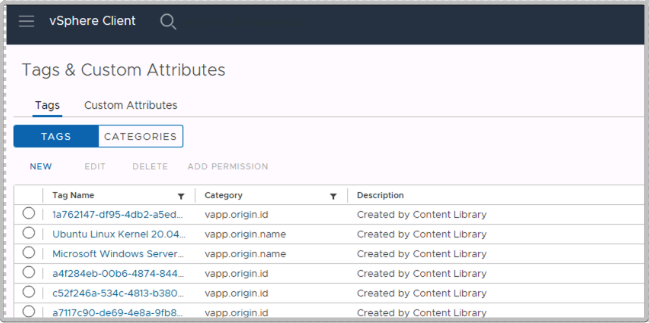
In your vCenter, click on Tags and Customer Attributes.
-
Click on Categories, New.
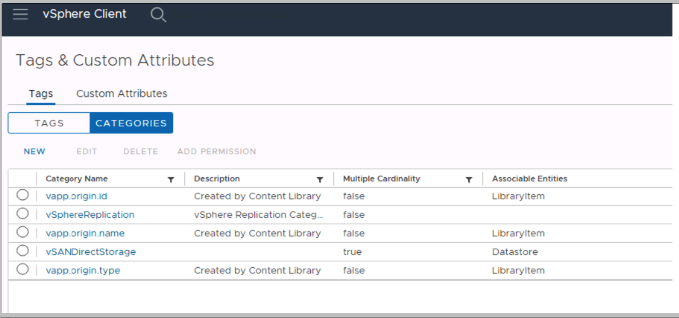
-
Provide a name, tags per object, and select the objects that the tag can be associated with.
-
Click create.

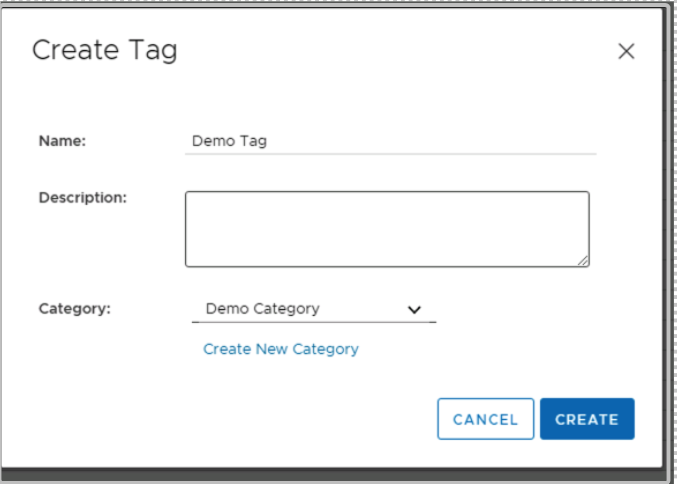
Creating a Tag
-
In your vCenter, click on Tags and Customer Attributes.

-
Click on Tags > New.
-
Provide a name, description and choose the tag category.

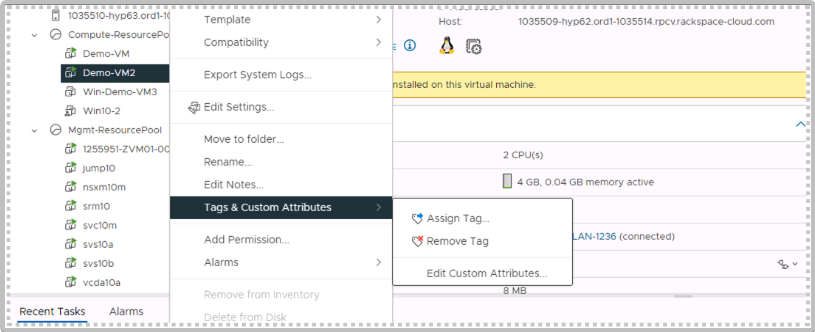
Assign a Tag
In our example, we will be assigning the demo tag to a VM.
-
Right click your VM, Tags & Custom Attributes, Assign Tag.
-
Choose the tag, click Assign.
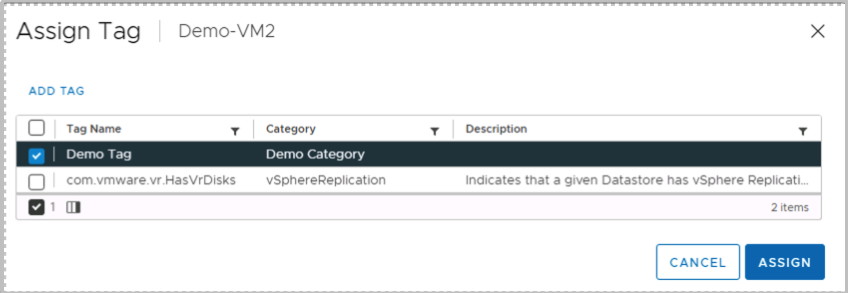
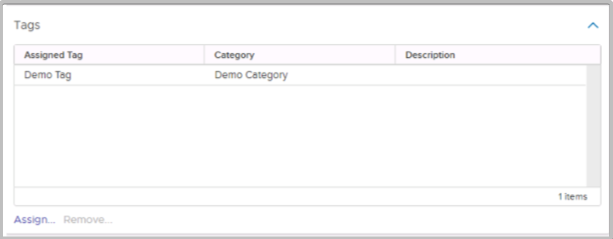
-
In the summary page of the VM, the tag will now show under tags.
Updated 8 months ago