
Rescue Mode in Rackspace Cloud
Using the Rescue Mode Feature on a VM in Rackspace Cloud based on OpenStack Flex
1. What is Rescue Mode and Why Use It
Rescue Mode is a mechanism that allows you to boot one of your Compute Instances using a “rescue” image (or a minimal OS) instead of its normal OS, while preserving the original root disk (or volume) attached, so you can inspect, fix, or recover the machine.
Benefits
- Recover when the VM’s OS won’t boot (e.g., broken bootloader, corrupted filesystem)
- Recover things like lost SSH keys, misconfigured network settings or incorrect permissions.
- Mount the original root disk, inspect logs, change configuration, chroot into it if needed — all without losing your original data.
- Less disruptive than deleting the instance, recreating it and re-attaching storage (although sometimes that’s still required).
Limitations / Things to Consider
- The instance goes into a special state called “RESCUE” and normal operations and services on the VM may not be function.
- You may need to use SSH key access or console access depending on which the Rescue Image is chosen as the Rescue Boot Source. We recommend using a Base Image, which is the default, when booting into Rescue Mode.
2. How to Put a VM into Rescue Mode in Skyline
Prerequsities:
- Be sure you are logged into the portal as shown here
- A Compute Instance you want to put into Rescue Mode.
Steps
-
Once you're logged in, navigate to Compute > Instances
-
Find the instance in the list and hover over More on the right-hand side > Instance Status > Rescue
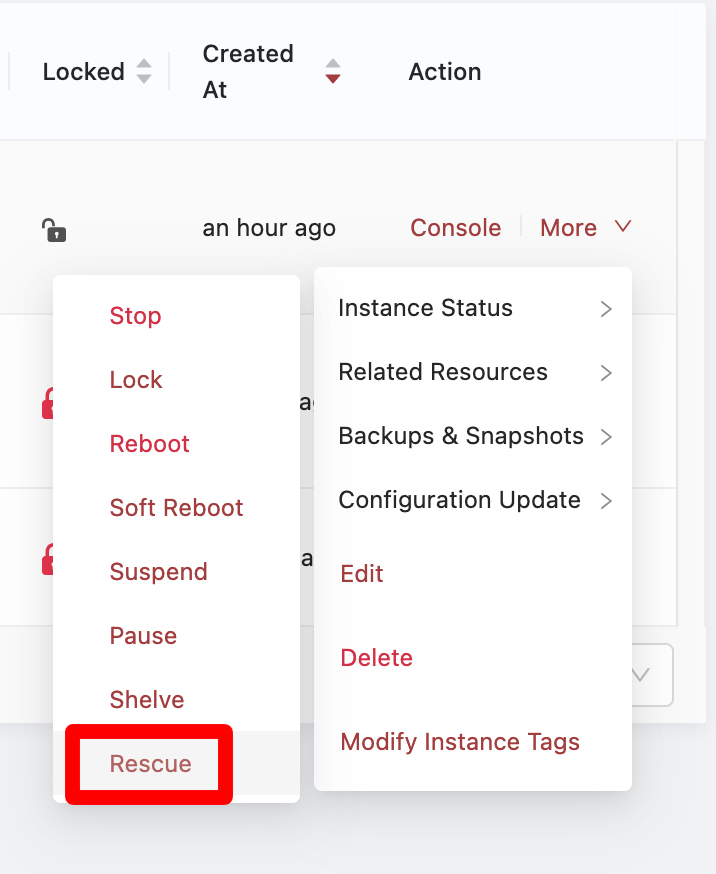
The Rescue Option
-
After clicking Rescue you'll get a new window which asks you to set a password to access the Rescue instance with and also choose the rescue image you want to use. If you leave these options blank it will automatically generate a password and use the original base image the instance was built from. Click Confirm when you've made your selections.
-
After clicking Confirm a new notification will appear in the upper-right detailing the actions you've taken and showing the password if you chose not to make one yourself.
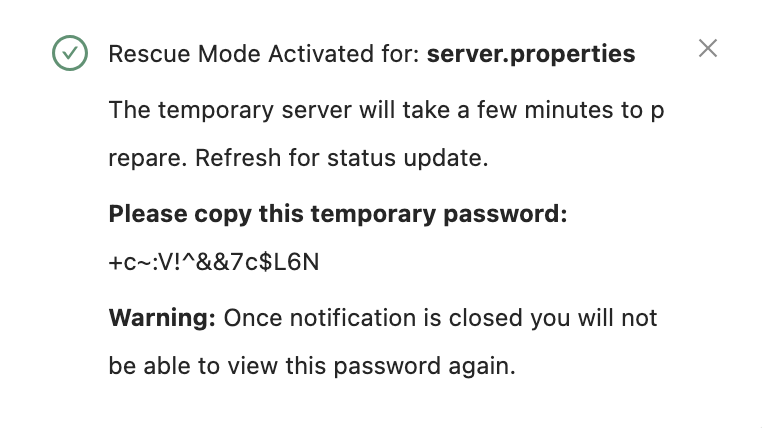
Example Notification
- Once the server has successfully entered Rescue Mode you'll see it's status show 'Rescue'.
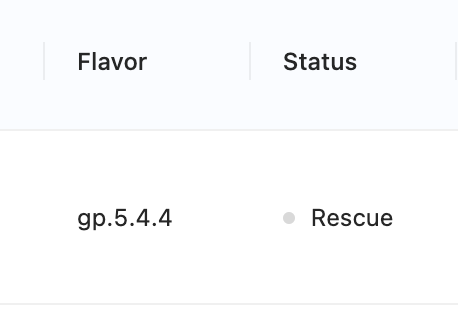
The status showing "Rescue"
- Now you can log into the server with the appropriate username, password, and the internal or Floating IP address that the VM uses.
2. How to Access the VM While in Rescue Mode
Once the VM is in rescue mode, you’ll need to get into it to perform repairs. Here’s how:
Access Methods
-
SSH: If the rescue image loads your project’s SSH key(s), then you can SSH using the floating/public IP as usual:
ssh <user>@<floating-ip>NOTE: you may be prompted with a warning that the host key changed — remove the old key line from
~/.ssh/known_hostsor usessh-keygen -f "~/.ssh/known_hosts" -R <INSTANCE_IP>. -
Console Access: Use the Skyline dashboard and click Console (VNC/serial) next to the server in question. This will open a Console session - although you'll lack the ability to copy/paste.
Next Steps
- Once logged in, you’ll typically see the root disk of the original VM attached as an extra disk to the /mnt directory. The rescue image is booting instead of the normal OS.
NOTE: Device names may vary.)
-
You can
chrootinto the mounted file system if you need to run commands as if booted from it:sudo mount --bind /dev /mnt/original-root/dev sudo mount --bind /proc /mnt/original-root/proc sudo mount --bind /sys /mnt/original-root/sys sudo chroot /mnt/original-rootThen repair e.g., reinstall packages, fix config, update grub, change ssh keys, etc.
-
After making the necessary fixes, exit the console/SSH session, and then exit rescue mode by going back into the Skyline UI and selecting Instance Status > Unrescue
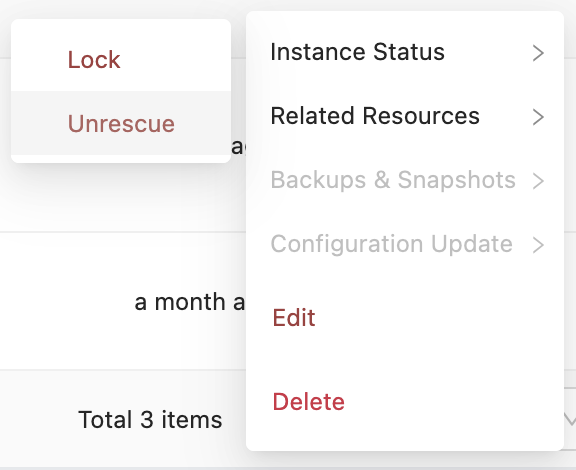
How to Unrescue
4. What to do while in Rescue Mode – Example repair tasks
Here are some common scenarios where Rescue Mode is helpful, and what you might do:
- Lost SSH key / no SSH access: Mount the root disk and add a new SSH public key to
~/.ssh/authorized_keysfor the default user. - Boot loader or kernel problem: Mount the disk, edit
/etc/default/grub, reinstall/update grub config, or set correct kernel version. - Full disk or corrupted file system: Mount it, run
fsck, remove or archive large files, fix config that caused the fill. - Mis-configured network (e.g., wrong interface names, iptables blocking): Change config files, verify netplan/ifcfg as appropriate, restore valid networking so the instance can reach SSH.
- Recover data: Mount the disk and copy off important files while you assess whether to fix or rebuild.
- Move volume to a new instance: If the root volume is volume-backed and irreparable, you might detach it and attach it to a new healthy VM and copy data.
Updated 7 months ago