
Creating a VM Protection Group
Create a VM Protection Group
-
Log in to Access Rackspace Data Protection.
-
Select the appropriate Cohesity cluster by expanding the DataProtect dropdown menu at the top left.

For additional information on the Cohesity system names, please visit this page: https://docs.rackspace.com/docs/cluster-names
-
On the left side of the screen, click Data Protection dropdown and then select Protection from the navigation menu.

-
The Protection screen will display Protection groups for your organization.

-
Navigate to the upper right corner, click Protect in the blue, then choose Virtual Machines to create a new protection group.

-
In New Protection window, click Add Objects.

-
From the Registered Source dropdown menu, select your VMware Environment.

-
In the Objects selection screen, you can define what objects are included in this protection group and how they are selected.
-
Objects can be manually defined by checking the individual boxes to the left of each object.
-
Automatic protection can be added at various levels in the VMware hierarchy, indicated by the blue shield to the right of objects. If auto protect is defined, all objects at that level and below in the hierarchy will be automatically protected. This includes any objects created at those protected levels in the future. Individual objects can be excluded from Auto Protect to refine selection granularity.

Example 1: Everything in our VMware environment should be automatically protected by this protection group, but we want to exclude the server named win-test from this protection group. We would like servers created in the future to be automatically protected by this group without the need for manual intervention.
-
In the right of your VMware source (top level), Click Auto Protect shield.

-
You will see all objects as auto protected.

-
You can then sort by VM listing or search for the VM name(s) that you wish to exclude. Once those VMs have been located, click the blue Auto Protect shield to the left of those object(s). The shield will turn red indicating the object is excluded from Auto Protection.

Example 2: If you would like to back up only the win-test server as part of this protection group. Newly created servers should not be included without being manually added to the job.
-
Sort by VM listing or search for the VM name(s) that you wish to protect. Click the checkbox next to the VMs that you wish to protect as part of this group.

-
-
Once the desired servers have been selected, click the Continue button at the bottom right of the Add Objects window.
-
Enter name of the protection group.

-
Select a backup policy by clicking Policy and selecting the appropriate option from the dropdown menu.
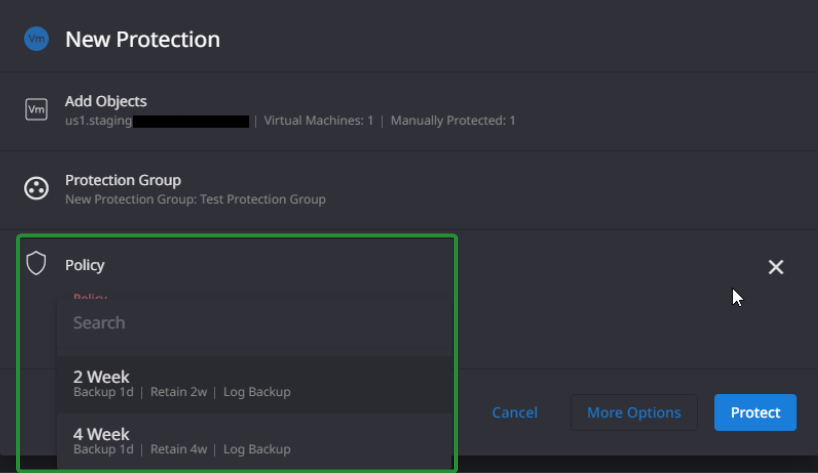
- Backup policies define the retention as well as the frequency. If your protection group needs to use a backup policy that does not appear in your policy list, please contact support, and ask for a new custom policy to be created for your organization.
- Click the More Options option, then enter the appropriate job start time in the settings, if you want to set a start time for that job rather than taking an instant backup.
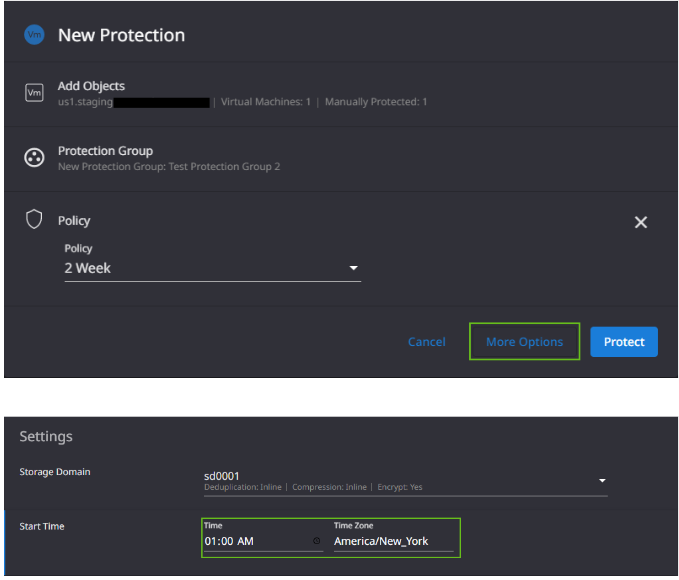
- Once changes have been finalized, click the Protect button to save the new protection group.

Updated 16 days ago