Use Role Based Access Control (RBAC)
Managing Users and Permissions in Rackspace
The primary account owner implements Role Based Access Control (RBAC) by adding users to the account and assigning roles. This article is intended to guide account owners through this process by using the Cloud Control Panel.
For information about setting up RBAC through the API, see the Rackspace Identity API Guide.
It is possible to assign a mix of multiple-product roles and per-product roles to one user through the API. The most permissive role determines the user's level of access.
Account Credentials
Rackspace recommends that you change the account password before adding new users to the account.
When new users are created, a temporary password is assigned to them. They should change the temporary password at their first login.
Also, new users receive an email from Rackspace notifying them that they have been added to the account. They receive information on how to sign up for an account in the email.
Create New Users
To create a new user, use the following steps:
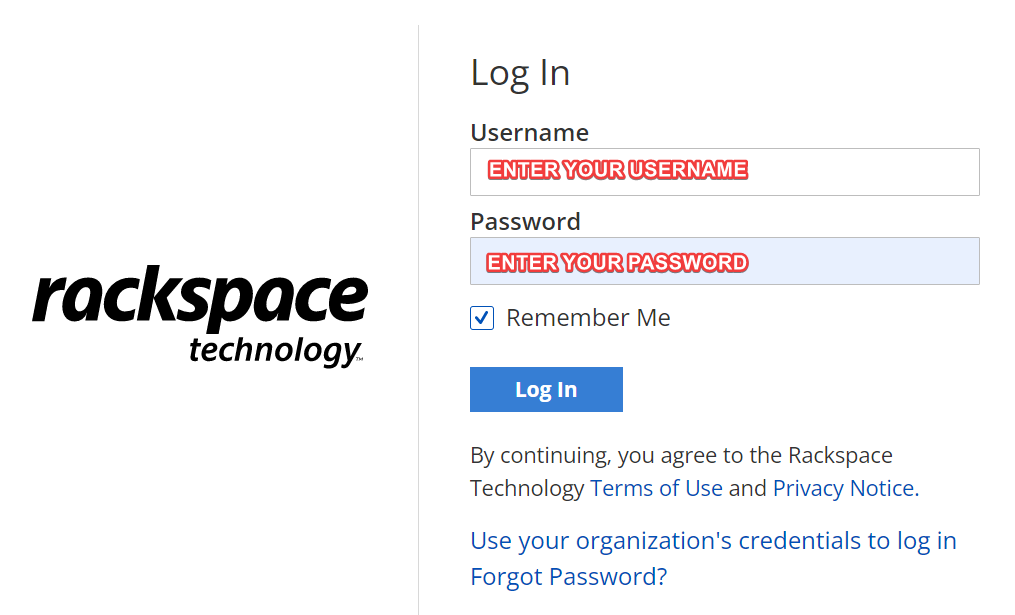
Step 1. Log in to the Cloud Control Panel.
Step 2. In the upper-right corner of the control panel, click Account > User Management.

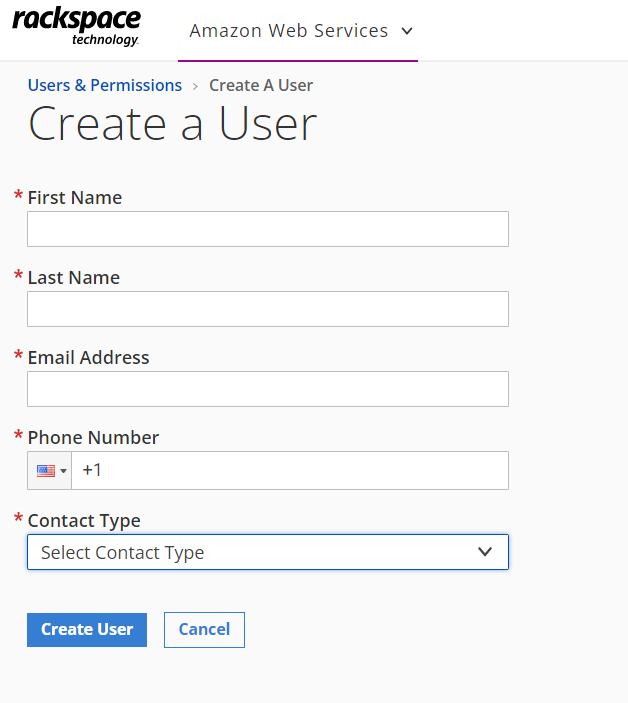
Step 3. On the User & Permissions page, click Create User.

Step 4. Enter information in the Create a User section.
Step 5. Select a Contact Type to assign to the user. RBAC has the following
contact types:
• Technical
• Administrative
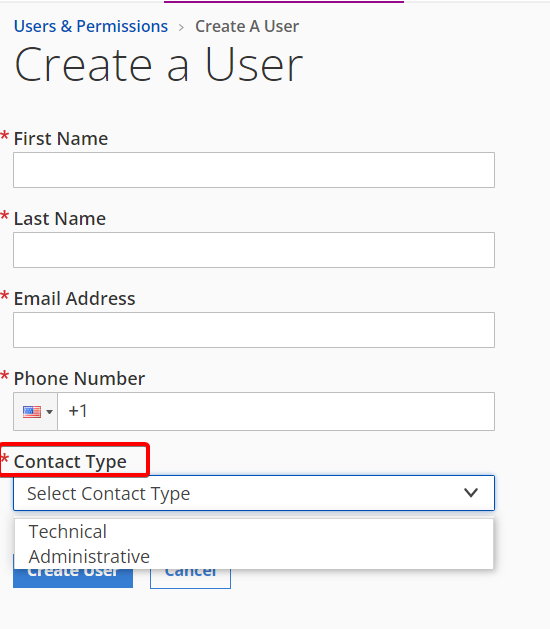
Note: These contact types are for reference only. They do not affect the user's permissions.
Step 6. Click Create User button.
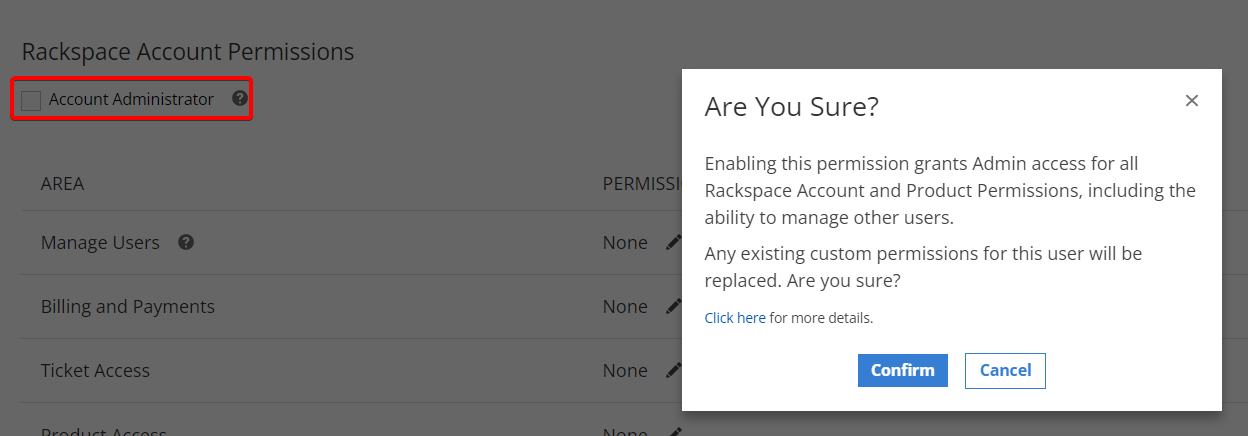
Step 7. You can either give the user the role of Account Administrator in the Rackspace Account Permissions section of the page that appears, or you can give them roles for the Manage Users area, the Billing and Payments area, the Tickets area, or the Product Access area individually.
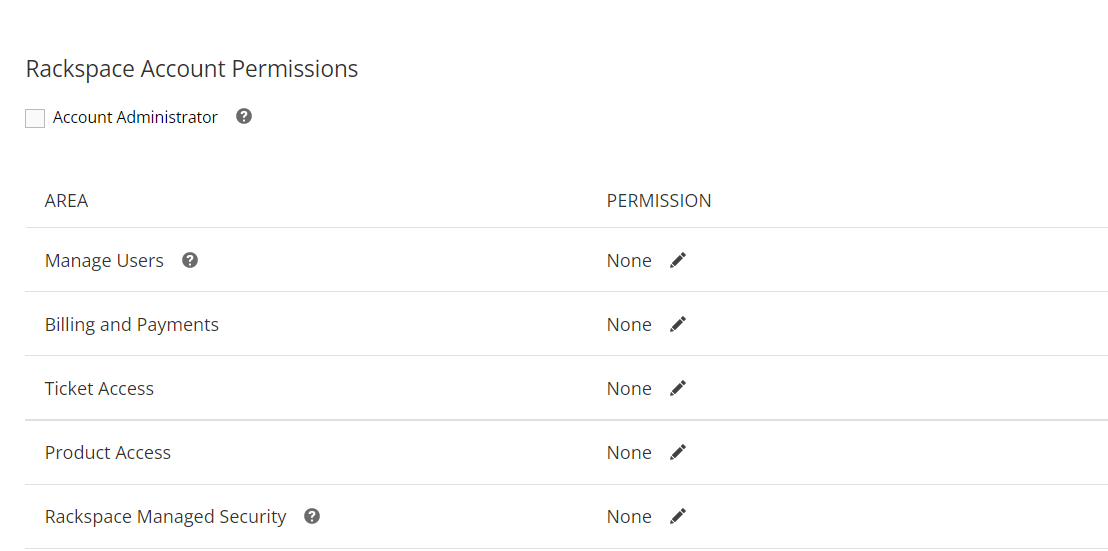
To assign a user the account administrator role, click the toggle button next to Account Administrator.
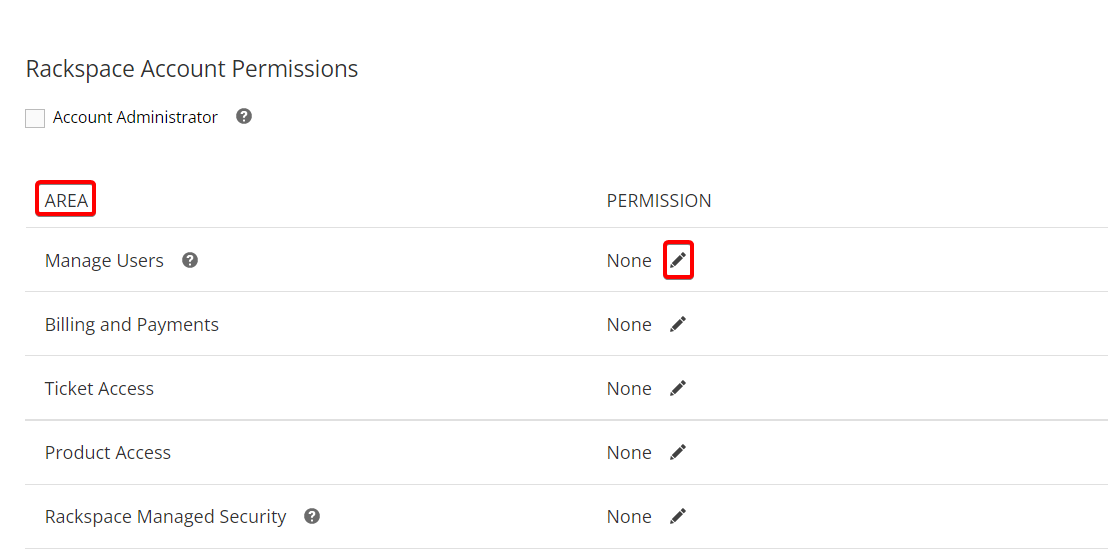
Alternatively, to assign different permissions for different areas, scroll to the AREA section and select the PERMISSION that you want to assign by using the pencil icon to the right of each area.
Step 8. Optionally, in the Product Permissions section, assign product permissions to the user. Click tab for a product, and then Edit the PRODUCT ACCESS.
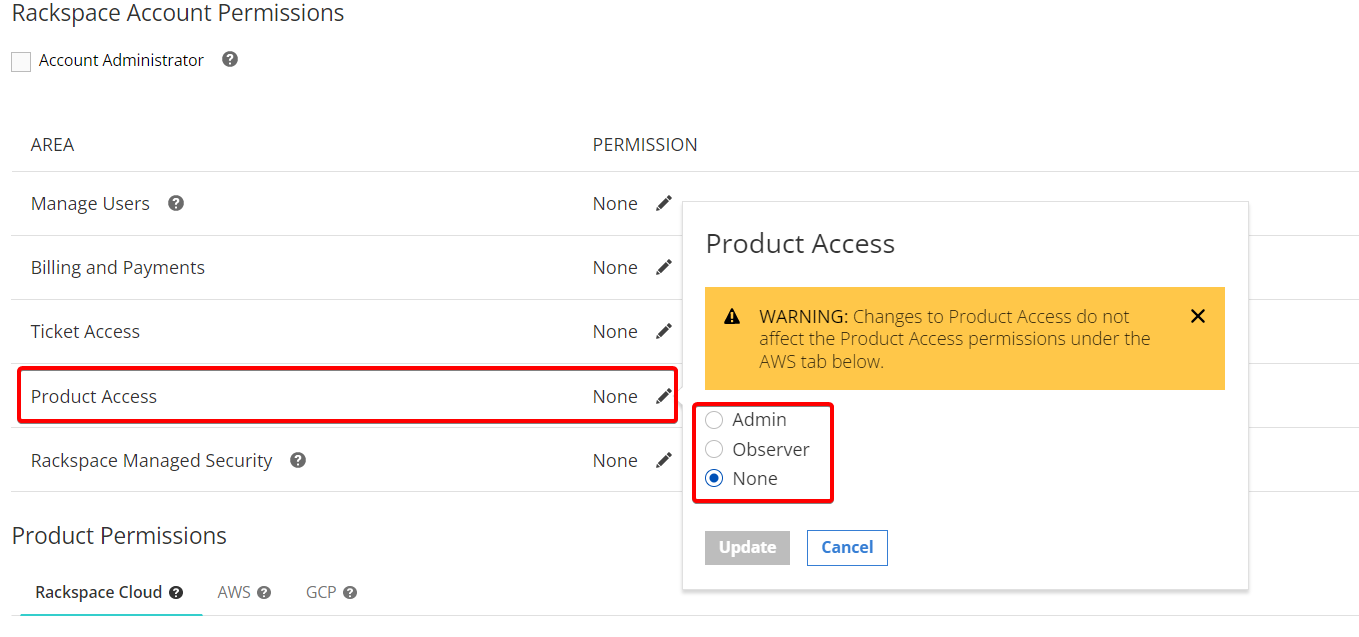
The Rackspace Cloud tab enables you to assign either permissions for all Rackspace Cloud products, or per-product custom roles.
Note: For optimal product interaction, see the "Suggested role configurations" section of this article.
To assign per-product custom roles, choose Custom under PRODUCT ACCESS. A list of Rackspace Cloud products appears. The default role for each product is NONE. To change the default value, select either ADMIN, OBSERVER, or None for the product.
Note: Depending on the roles assigned, the Control Panel view is different for each user.
Note: After a user is assigned a custom role, that custom role cannot be modified. However, if the user is later assigned the account administrator role at the account level, that action overwrites all product-level custom roles. For more information, see Known issues and suggested workarounds for RBAC.
Suggested Role Configurations
Rackspace recommends the following custom role configurations for optimal product interaction.
Product | If | And | Then |
|---|---|---|---|
Cloud Load Balancers | A user has been assigned any Cloud Load Balancers role. | n/a | In Cloud Servers, give the user the Observer role (minimum action). |
Cloud Load Balancers | A user wants to add a node by using the Nodes > Add Cloud Servers option in the Cloud Control Panel. | The user has been assigned any Cloud Load Balancers role. | In Cloud Servers, give the user any role. |
Cloud Databases | A user wants to create a backup in Cloud Databases. | n/a | In Cloud Files, give the user the Admin role. |
Rackspace Customers With Multiple Accounts
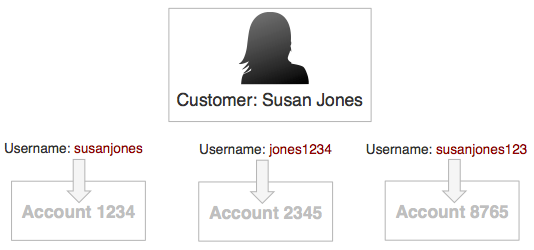
Rackspace customers with more than one account might want to allow the same user to access each account. In this situation, the account owner must configure that user with a different username for each account. The following graphic illustrates this scenario.
Updated 3 months ago