Create your first website on Cloud Servers quickly
The Rackspace Cloud can save you both time and money. This article shows
you how you can accomplish this by turning your idea into a working site.
This process includes the following steps:
- Build the infrastructure.
- Upload your code.
- Test your site.
The project that you're bringing to the cloud is probably much more
complicated than what this guide covers. However, the process that this
guide uses helps you successfully deploy any web site or application.
This guide is not a comprehensive tour of Cloud
Servers.
However, by following these instructions, you are establishing the
fundamentals that you can build on by reading other articles and guides.
Prerequisites
The information in this guide is practical. If you plan to follow along, you
might need to download and install the following software:
- A Secure Shell (SSH) client application
- An SSH File Transfer Protocol (SFTP) client application
If you don't have a website to upload, you can use the following sample HTML
file that we created for this exercise. Right-click the link to
save the file and rename the file to index.html.
Build the infrastructure
In this section, you create your server, connect to it, and install the
Apache® webserver package to turn the server into a web server.
Create a cloud server
Use the following steps to create a cloud server:
-
Log in to the Cloud Control Panel by using
the user name and password that you entered when you created your account.The Cloud Control Panel supports many Rackspace products and services. For
more information about the Cloud Control Panel, see Introducing the
Rackspace Cloud Control
Panel. -
In the top navigation bar, click Select a Product > Rackspace Cloud.
-
Select Servers > Cloud Servers, then click Create Server.
In most cases, you can deploy the right infrastructure with just a
few clicks.You have a large amount of control when you create a new cloud server. However, to keep things simple, this guide focuses on the three required
parts: name, image, and size. -
Name your cloud server.
The name of your cloud server should communicate its role (for
example, web server or database) and what it's hosting. -
Select an image.
The image that you select contains both the operating system (OS) and
preselected software. -
Select a flavor.
The term flavor refers to the capacity of the server's central
processing unit (CPU), Random Access Memory (RAM), and hard drive.
You can think of the flavor as the size of the server. When you need
more power, you want to select a bigger cloud server, which means a
higher-capacity flavor. Because this is just a test server, we
recommend that you select the 8 GB General Purpose v1 flavor. -
Click Create Server.
A pop-up window displays your server's Root Admin Password.
You need this password to connect to the server later in this guide,
so ensure that you copy it before you click Dismiss Password. -
Verify that the build is complete.
The time it takes for your cloud server to build depends on your
selected image and flavor. The server is finished building
and is ready to connect when the Server Status is Active. -
Copy the public IP address.
In the Networks and Security Groups section of the Server Details
page, find and copy the server's IPv4 address (PublicNet) so that you can
use it in the next section.
Connect to your server
Now that you have an active cloud server, you need to make it a
web server. You do this by connecting to it and installing the
Apache webserver package.
You can connect to a server in several ways, but the standard and most
secure method is Secure Shell (SSH). SSH enables you to send
information to and from your server securely.
-
Connect from either a MacOS® X or Windows® computer. For
instructions about how to connect, select the article that corresponds
to your desktop operating system:-
Connect to Linux from Mac OS X by using
TerminalNote: You can use either Terminal or the SSH client
that you downloaded at the beginning of this guide. -
Connect to Linux from Windows by using
PuTTYThe first time that you connect to a cloud server, your computer
verifies that this is something you want to do.
-
-
Type yes and then press Enter.
-
Type or paste the password that you copied in step 6 when you
created the server.If the password is correct, you connect to your server. You see
a screen similar to the following one:
Install Apache
To install Apache, enter the following command in the Terminal window:
apt-get install apache2 -y
Some information scrolls by in your Terminal window as your server
downloads and installs Apache and any software that Apache might need to
operate correctly.
Test Apache with your web browser
After the command finishes, ensure that Apache is installed
and turned on. Paste the (PublicNet) IPv4 address of your cloud server
into the browser's navigation bar. If you see the message, "It works!",
you now have a web server installed on your cloud server.
The working site file is stored as index.html in your
DocumentRoot directory.
Upload your code
The next step is to upload your site. You might be familiar with File
Transfer Protocol (FTP) as a way to upload and download files
from another computer. Rackspace Cloud Servers uses SFTP for added security,
so you need an FTP client that supports SFTP connections. Fortunately, many
popular and free FTP clients support SFTP connections.
Establish an SFTP connection with your server
Use the following steps to establish an SFTP connection with your server:
- When you create a new connection, ensure that you choose the SFTP (SSH
File Transfer Protocol) option. - For the server, type the Internet Protocol (IP) address of the cloud
server. - For the username, enter
root. - For the password, enter the root user's password.
- Click the option to establish a new connection to your server.
Upload your site
The next step is to upload your site to the cloud server. However, you must
upload the HTML file to the correct location on the cloud server.
Apache is configured to look in a specific directory, DocumentRoot, for
content to serve on the web.
On a server running the Ubuntu® operating system, DocumentRoot is
located at /var/www, so you must upload your site file to that directory.
Navigate to that directory in your SFTP client, then replace the existing
index.html file with your file.
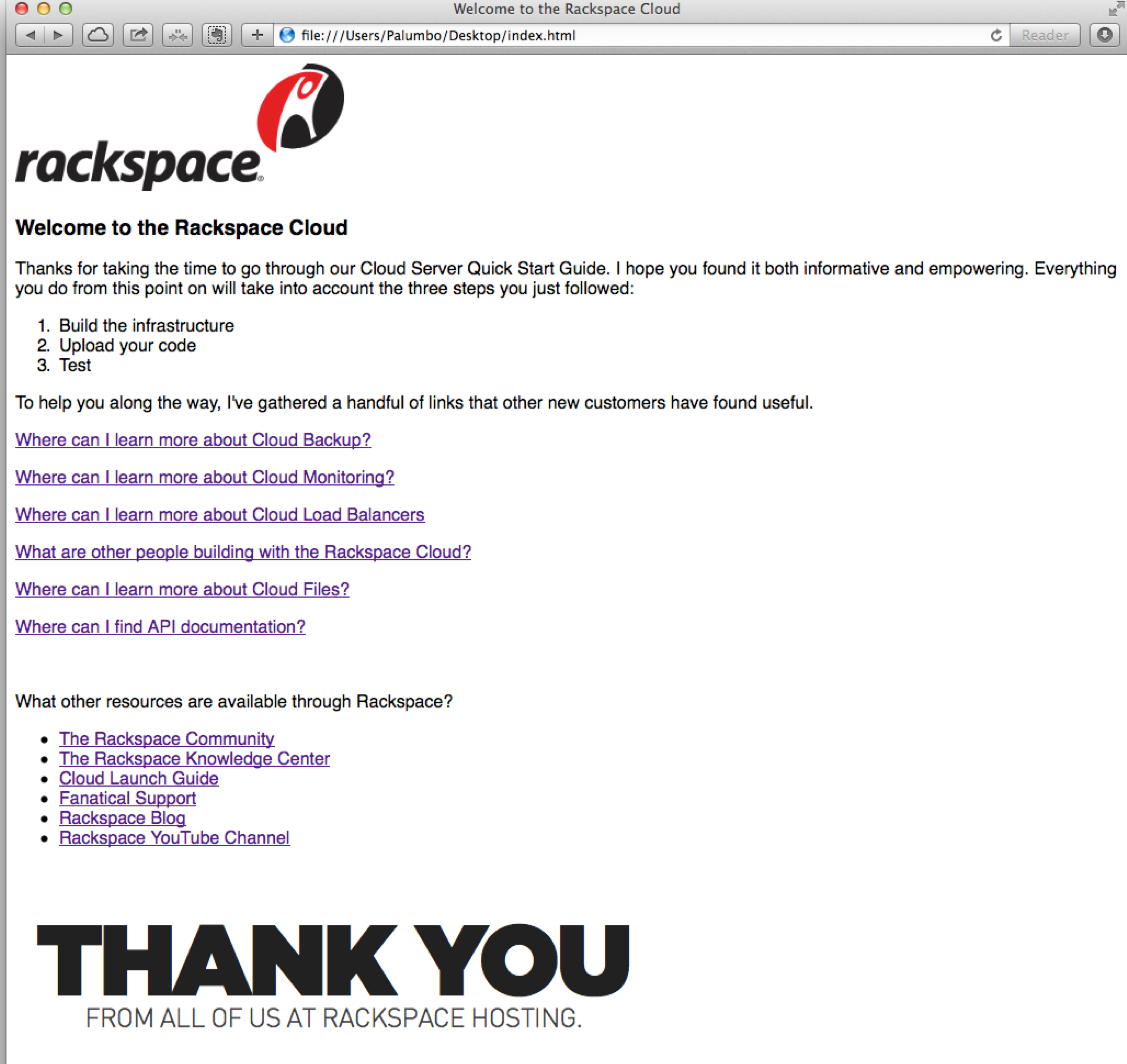
Test your site
Now that you uploaded the correct HTML file to the correct directory, you
should see your site when you refresh your browser, as shown in the following
image:
Next steps
Several resources are available to help you progress:
- Rackspace How-To articles: Information about all
Rackspace products - Rackspace Support: Information about
how to contact Rackspace Support
Updated 4 months ago