Add a new VPN user in the MyRackspace Portal
Adding new client VPN users is now an automated task within the MyRackspace
Portal. This article describes how to add a new VPN user by using the Support Center.
Create a ticket in the MyRackspace Portal
Step 1. Log in to the MyRackspace Portal by using your
username and password.
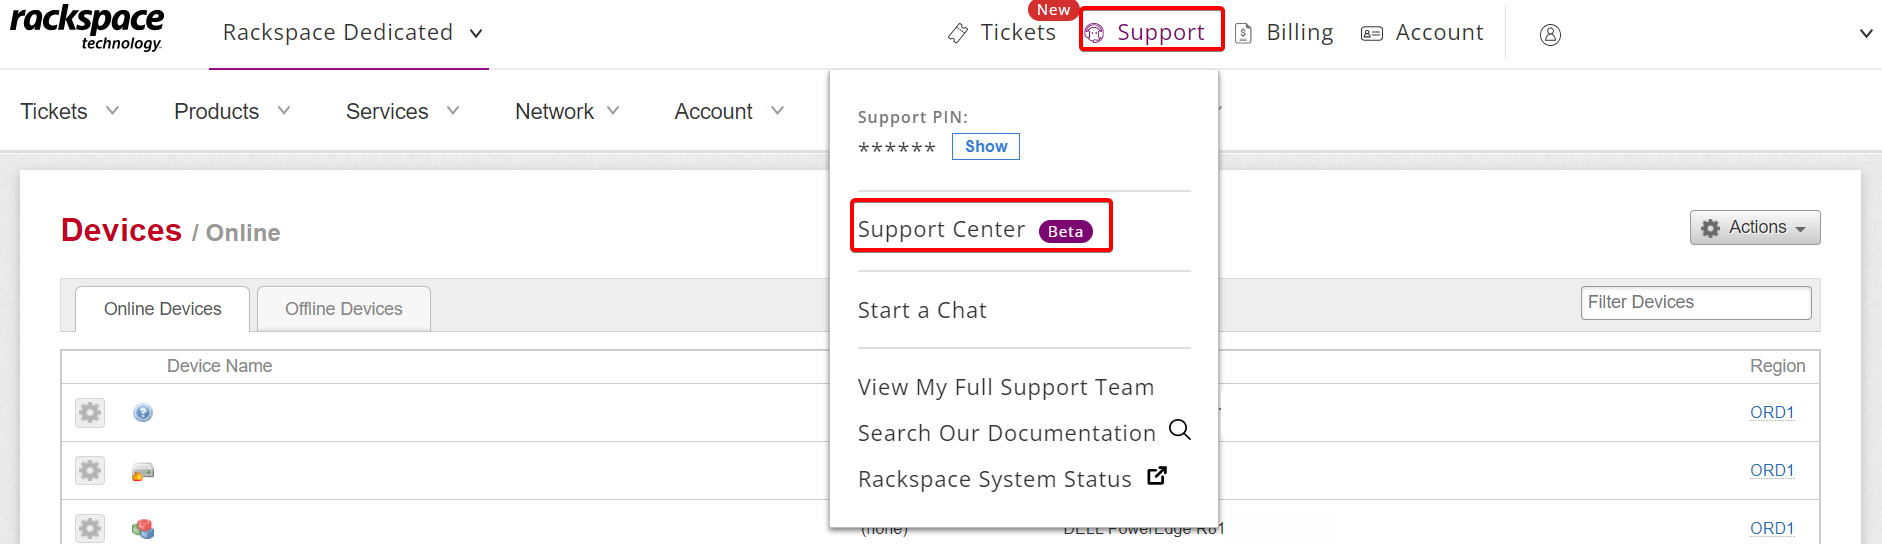
Step 2. In the top navigation bar, click Support > Support Center.
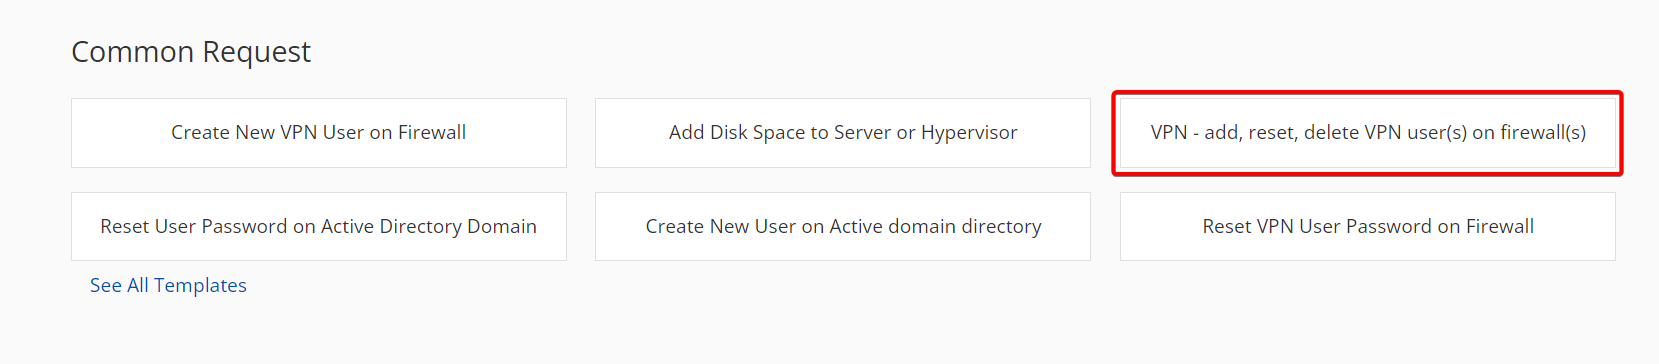
Step 3. Under Common Request, click See All Templates. A list of all Common Request templates will be displayed.

Step 4. From the Common Request menu, select VPN User Management - add, reset, delete VPN user(s) on firewall(s).
Step 5. In the Issue Details section you can select one, multiple or all of the following VPN user management options as shown in following image.
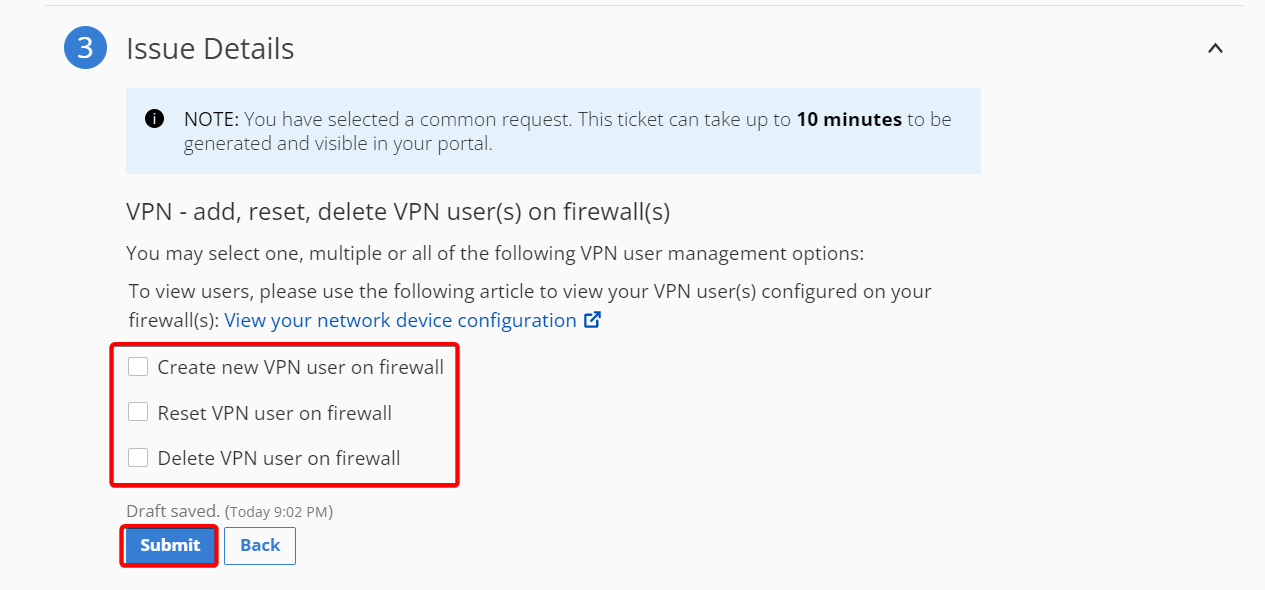
Step 6. Check the box next to Create new VPN user on firewall.
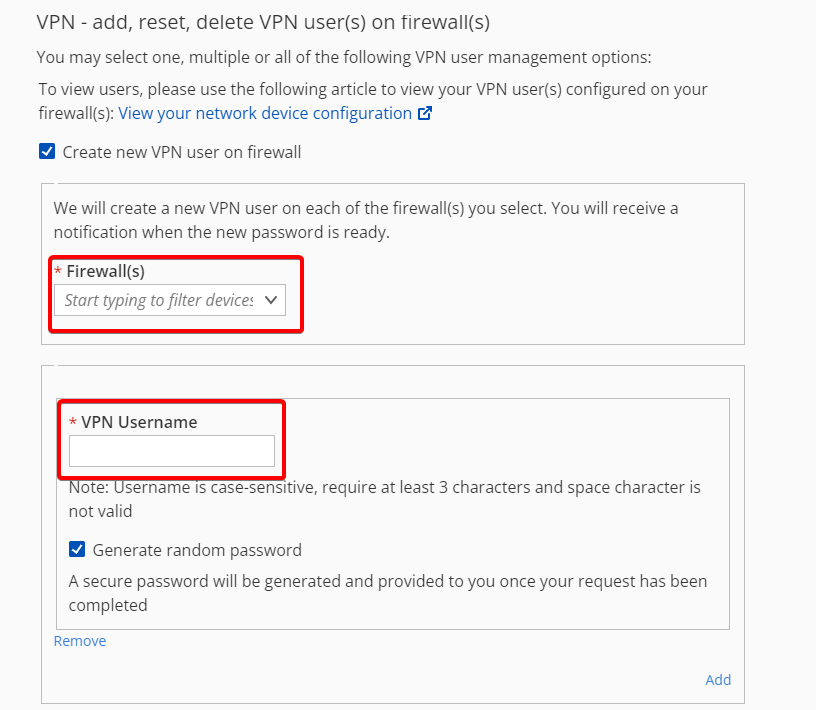
Step 7. In the Firewall drop-down field, select the appropriate firewall(s).
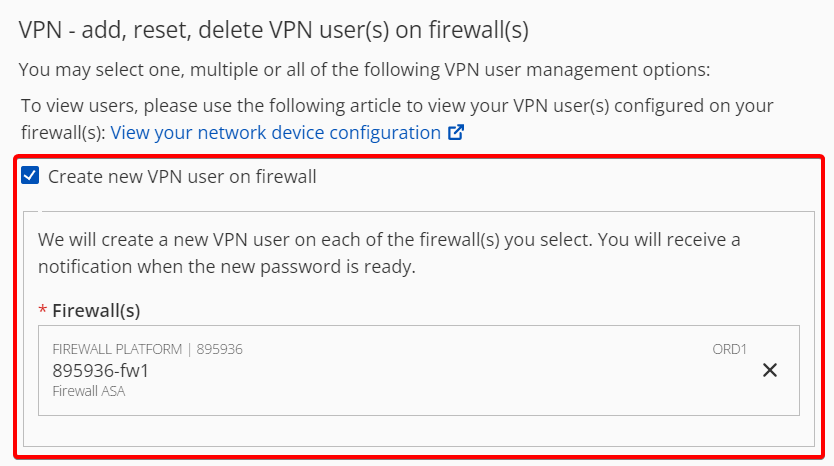
a. If you need to add the VPN user to all firewalls on the account, ensure
you select all firewalls in this field.
Step 8. Enter your desired VPN username in the VPN Username field.
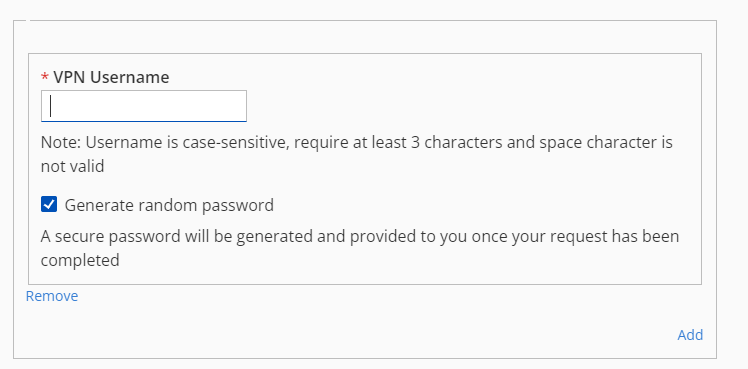
a. The VPN username is case-sensitive and requires at least three characters.
b. Do not include a question mark (?) or space ( ) within the VPN username field.
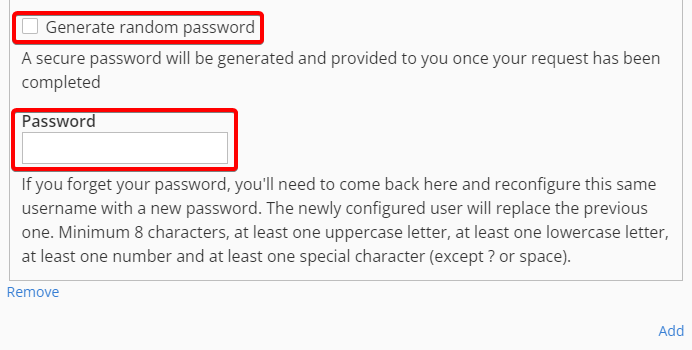
Step 9. The Generate Random Password box shows as checked by default.
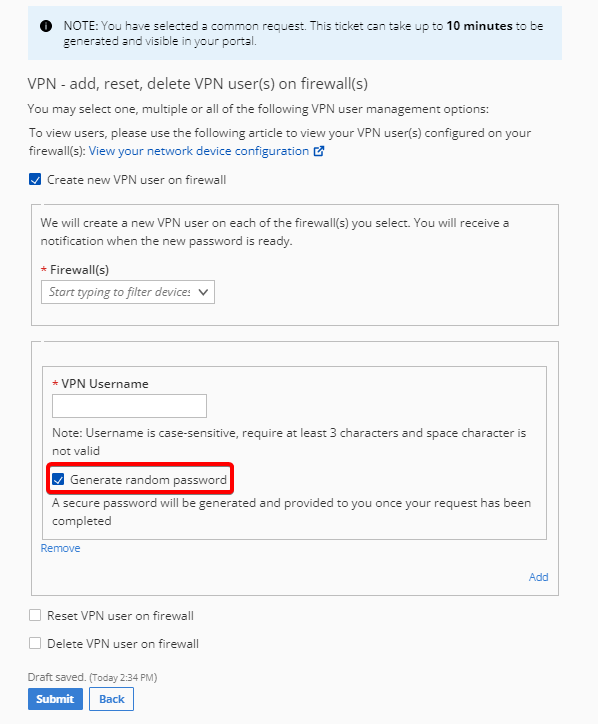
a. If you want to add a custom password, uncheck the box Generate Random Password. After you uncheck the box, the custom password field displays.
This password must have at least eight characters with uppercase, lowercase,
numbers, and special characters.
Step 10. Click Submit at the bottom of the page.
After the ticket generates, you see your ticket list in
the MyRackspace Portal. Automation runs in the background while the ticket
generates, which typically takes less than a minute to complete. After you
refresh your browser, the ticket, Create New VPN User on Firewall Request (from template),
is in Confirm Solved status.
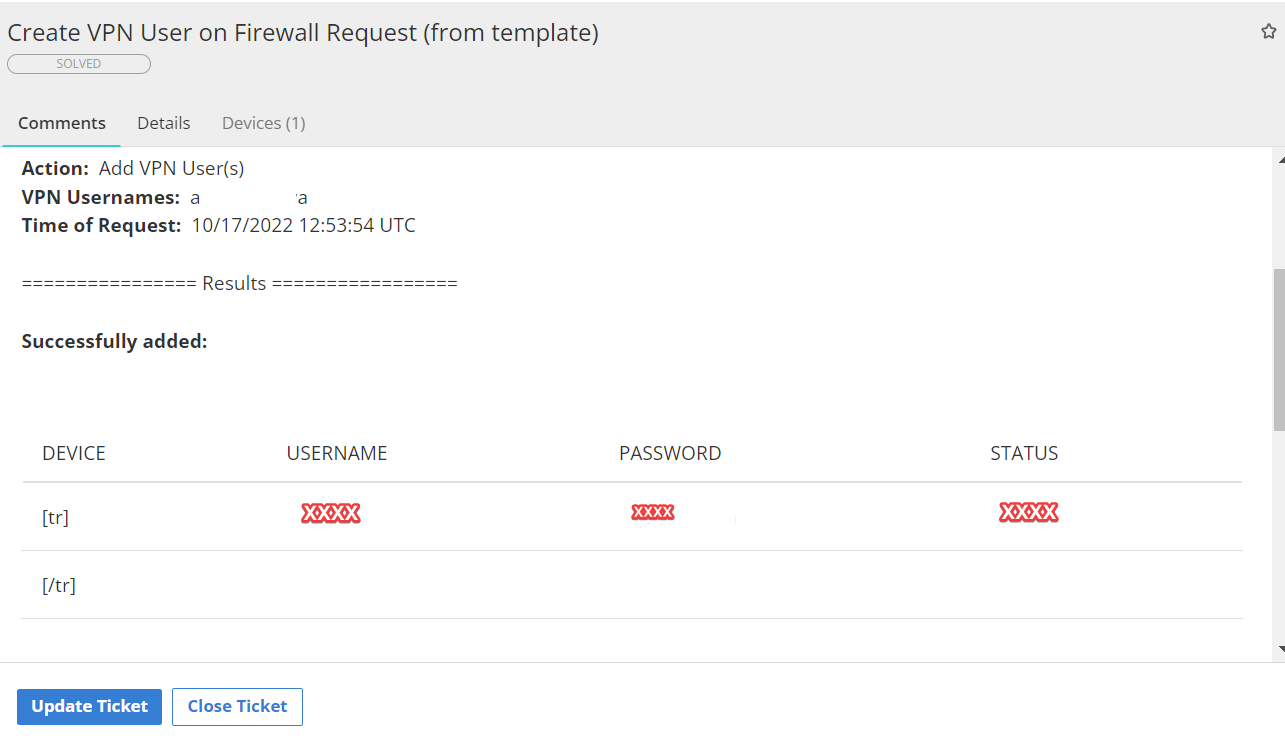
Step 11. Retrieve the password for your new VPN user by opening the ticket. The
password is in the most recent comment.
Limitations
VPN user automation currently does not allow for the following modifications:
- VPN-filters
- Group-lock
- Framed IP addresses
If you need changes included in the list of limitations, open a ticket so that
Rackspace Support can process your request manually.
Updated over 1 year ago