Azure V2 Upgrade
How to access Azure Subscriptions
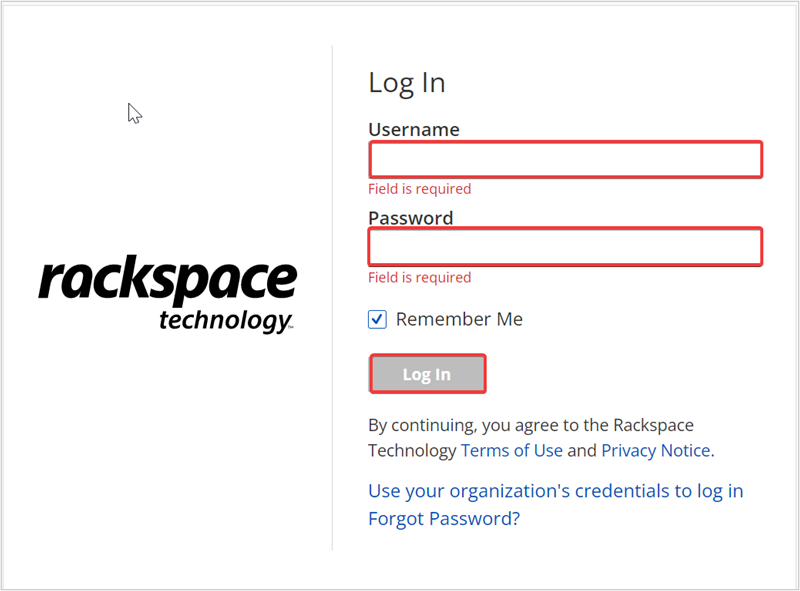
Step 1. Access the URL https://manage.rackspace.com/
Step 2. Enter your Login credentials and click Log In.The application Home Page opens.
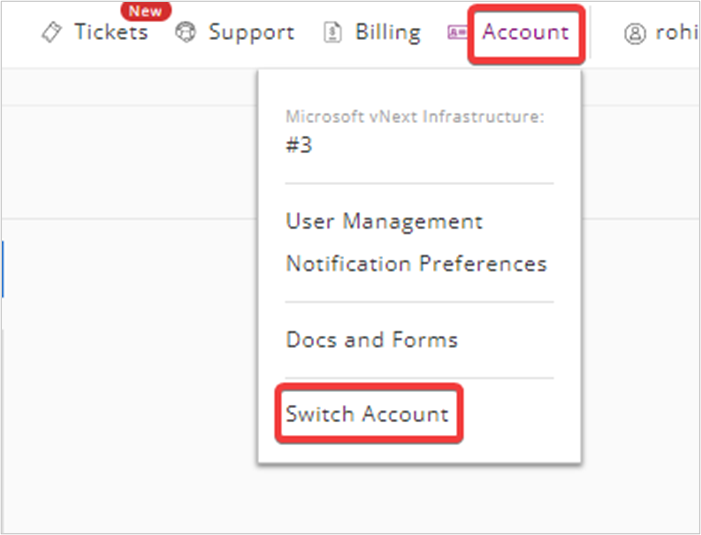
Step 3. In the top navigation panel, click Account >> Switch Account.
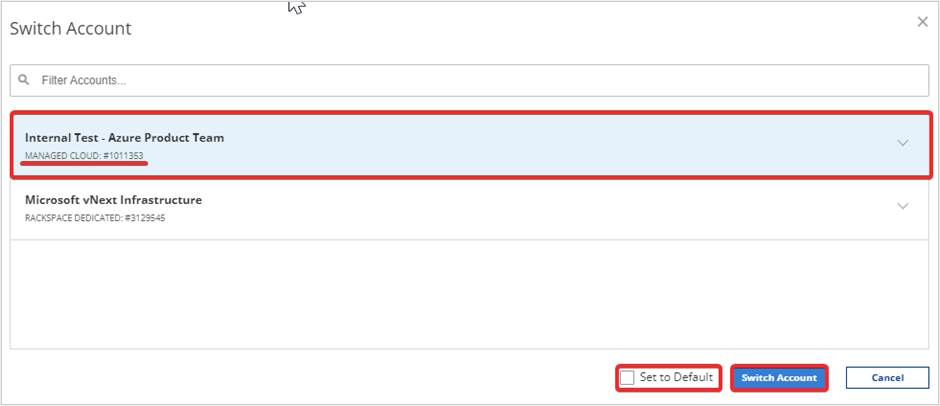
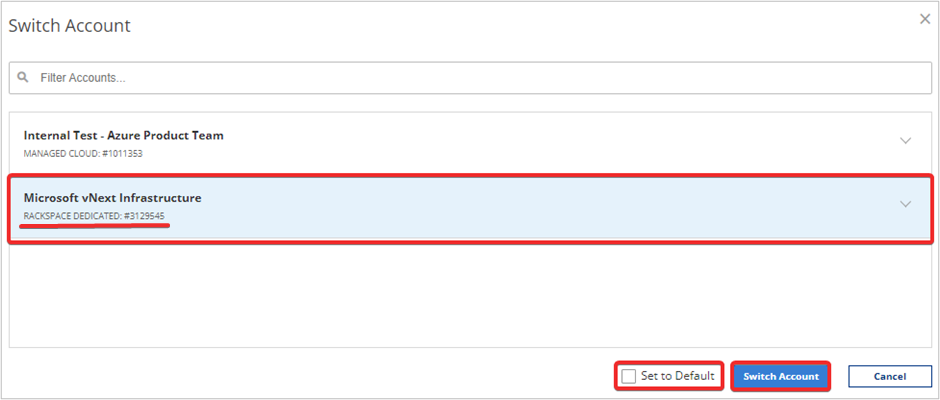
Step 4. Select a specific Manage Cloud Account from the list and click Switch Account. The selected account can be Set to Default by selecting the Checkbox.
You can search for and view any Azure subscriptions by clicking the arrow icon next to the Managed Cloud account or typing in the filter accounts box.
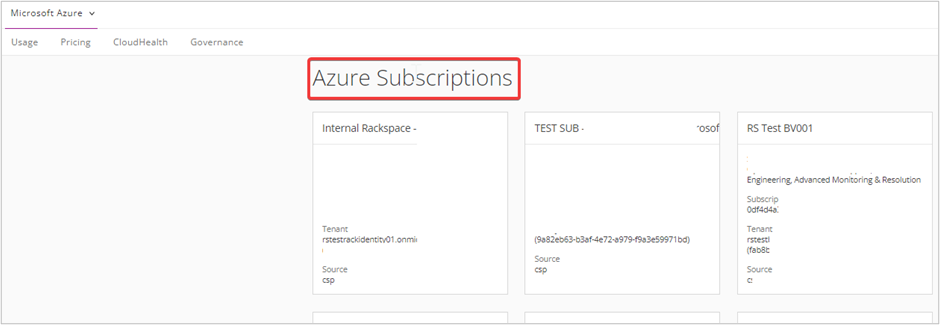
Step 5. In the top navigation panel, click My Accounts >> Microsoft Azure.
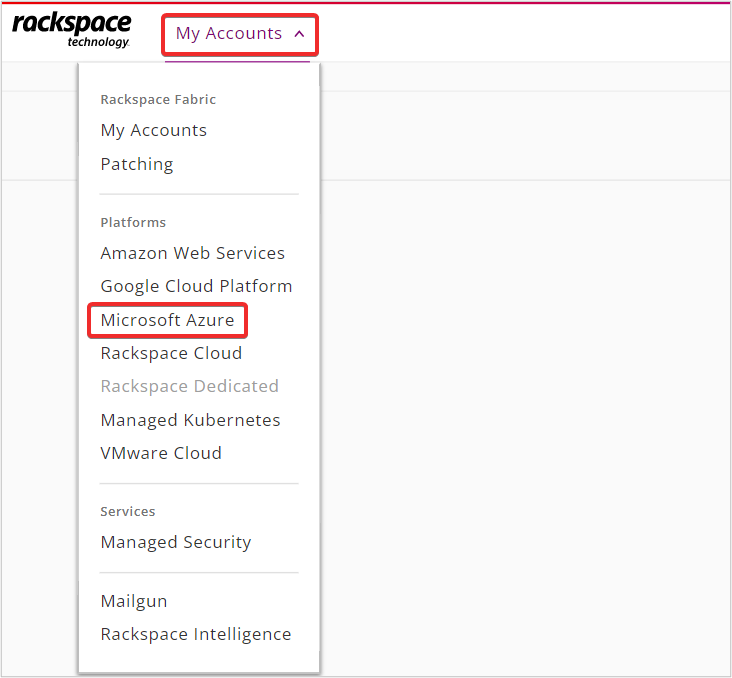
Step 6. Under Microsoft Azure, you can see the list of Azure Subscriptions.
Accessing Dedicated Hosting Portal
Note: The Dedicated Hosting Portal (MyRackspace) will only be accessible when the user is currently in a Dedicated Hosting Account.
How to switch into Dedicated Hosting Account
Step 1. In the top navigation panel, click Account >> Switch Account.

Step 2. Select the Rackspace Dedicated Account from the list and click Switch Account. The selected account can be Set to Default by selecting the Checkbox.
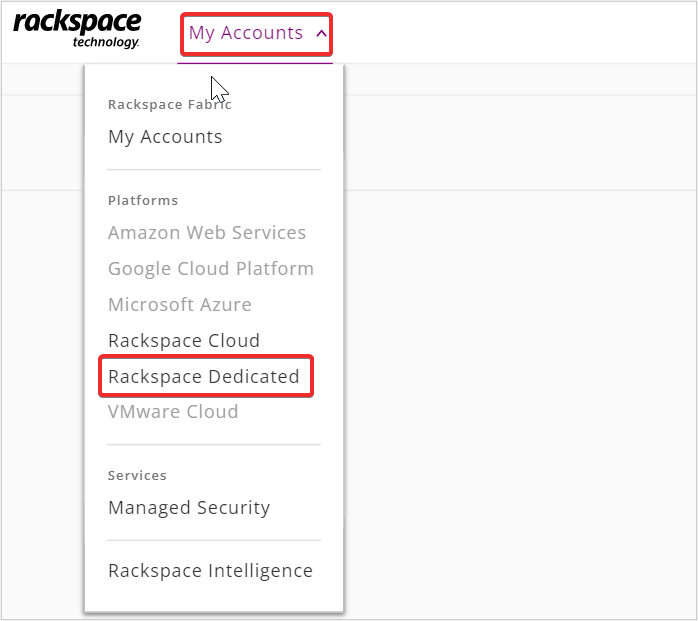
Step 3. In the top navigation panel, click My Accounts >> Rackspace Dedicated.
Managing Permissions
How to manage Azure Permissions
Step 1. In the top navigation panel, click My Accounts >> Rackspace Dedicated.
If Rackspace Dedicated is grayed out and not clickable, this indicates that you are currently in the Managed Cloud account. To access the Rackspace Dedicated, you will need to switch back into the dedicated hosting account.
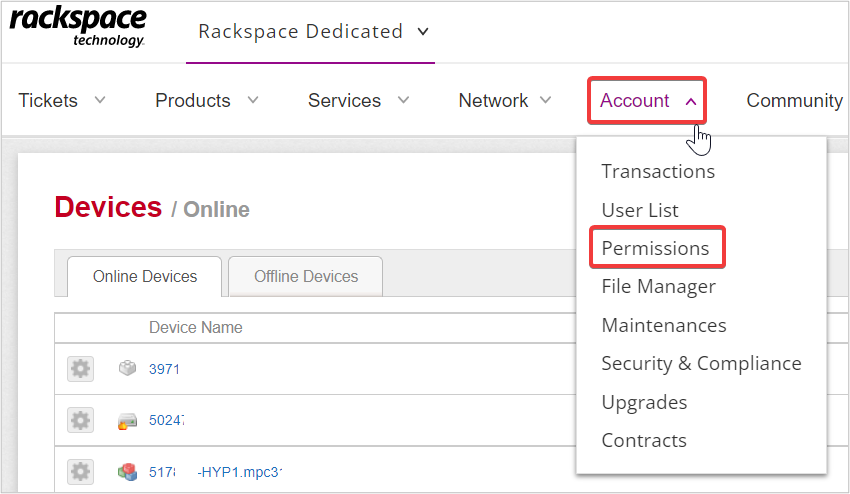
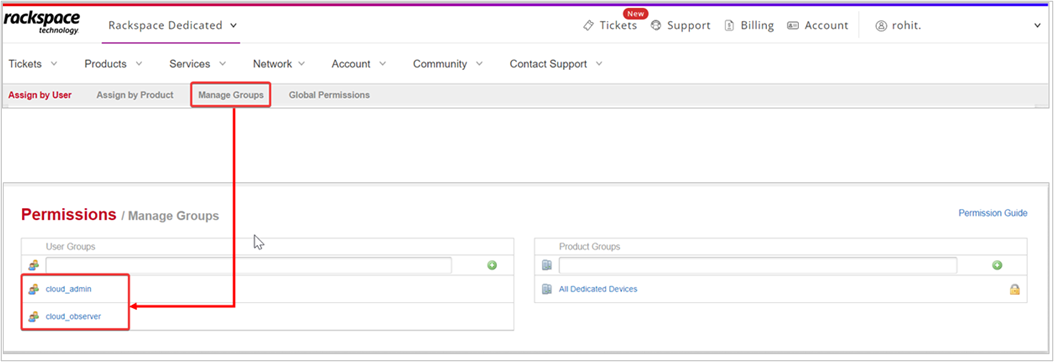
Step 2. In the MyRackspace navigation bar, click Account >> Permissions.
Step 3. In the Permissions page, you can manage the permission of user groups two ways:
i. In the User Groups section, expand the user group and click Edit Group.
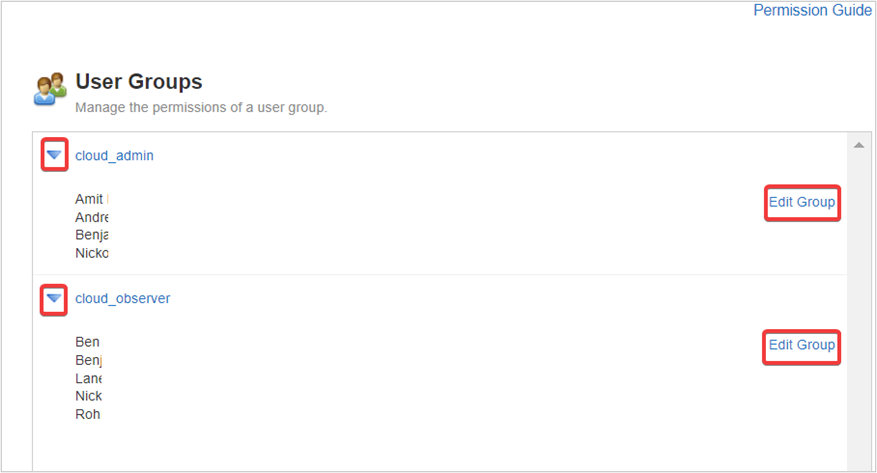
ii. In the top menu bar, navigate Manage Groups then select the User Group which you want to edit.
Step 4. Select/Deselect the Checkboxes to manage the members of the User Groups and click Save Changes.

Managing Tickets for Azure v2
You can View, Update and Create tickets by following the procedures below:
Viewing Azure v2 Tickets
How to view Azure v2 Tickets
Step 1. In the top navigation panel, click Account >> Switch Account.
Step 2. Select a specific Manage Cloud Account from the list and click Switch Account. The selected account can be Set to Default by selecting the Checkbox.
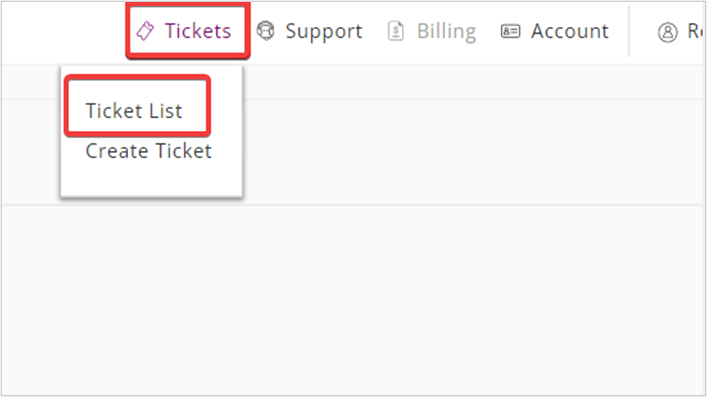
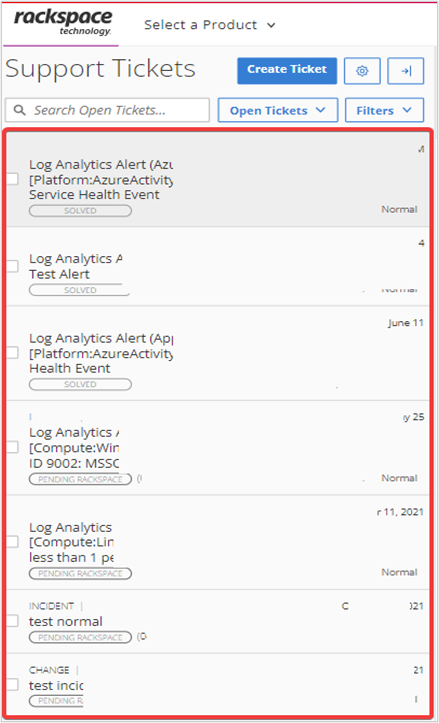
Step 3. In the top menu bar, click Tickets >> Ticket List.
Step 4. The Ticket List opens and you can view either the most recently created ticket or last modified ticket at the top.
For additional functionality and features, please click here to review the Fabric Ticketing overview document.
Creating a Ticket for Azure v2 Subscriptions
How to Create a Ticket
Step 1. Ensure that you are currently in the correct Managed Cloud account by selecting the account dropdown. This will show you the account name and number of your current account.
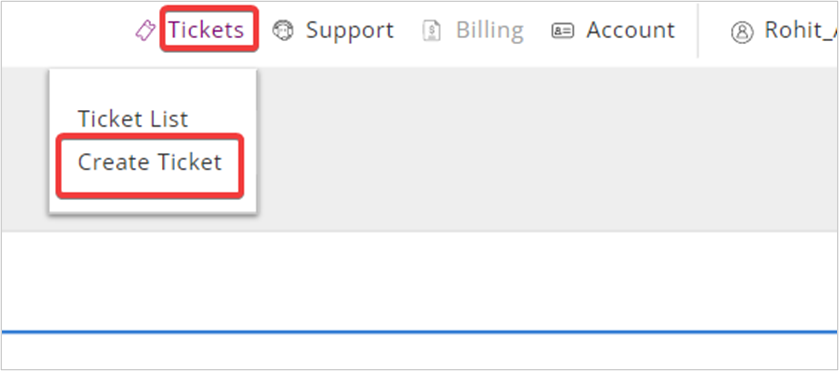
Step 2. In the top menu bar, click Tickets >> Create Ticket.
Note: You can also Create a ticket by navigating Ticket List >> Create Ticket.
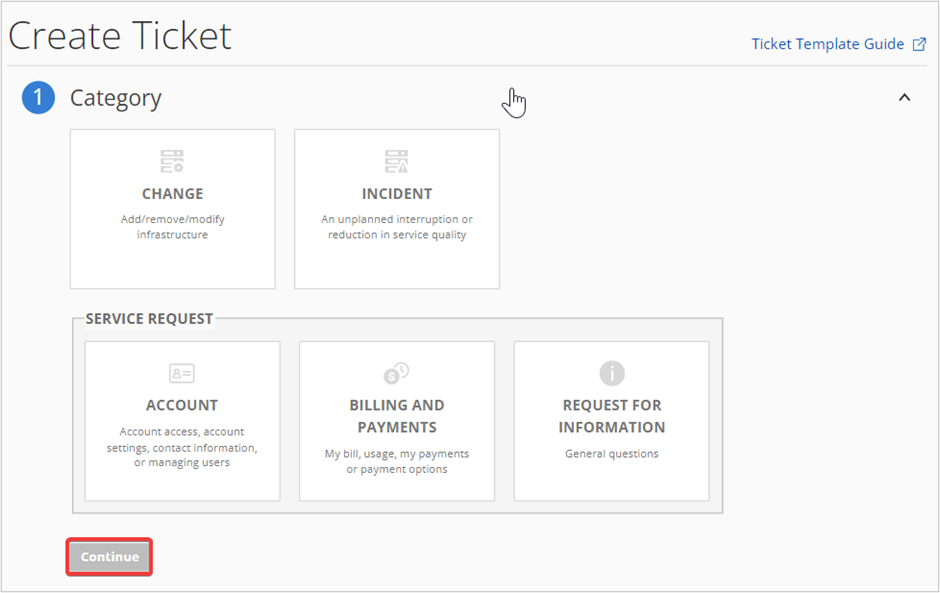
Step 3. In Create Ticket page, select the appropriate Category from Category section and click Continue.
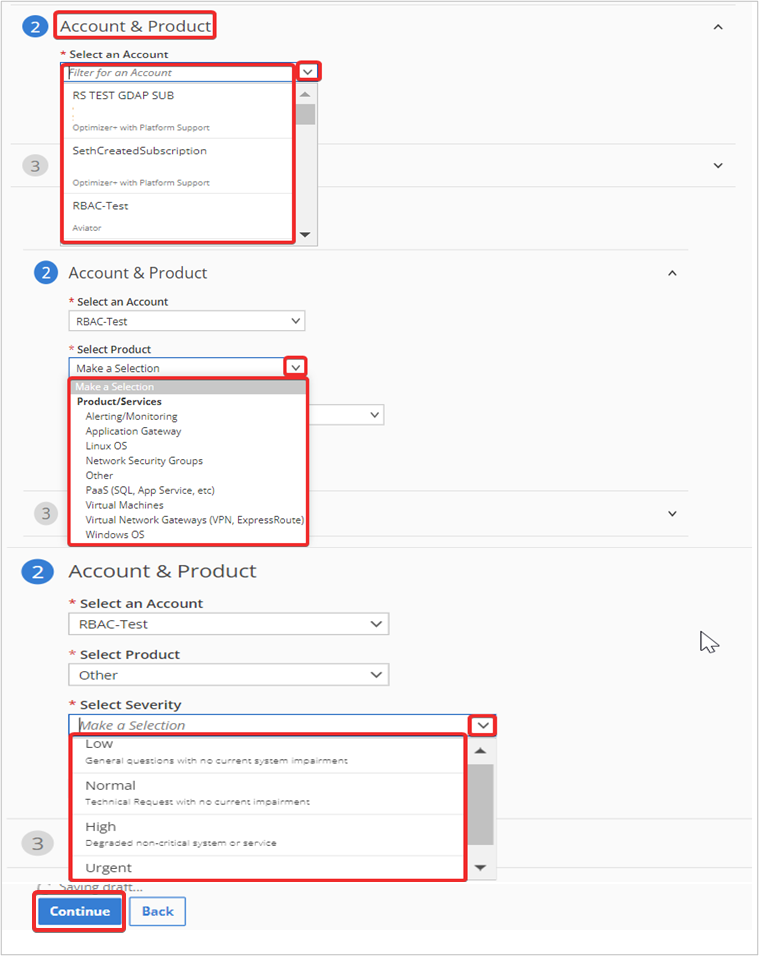
Step 4. In Account & Product section, click drop-down and select the appropriate Account, Product, and Severity and click Continue as shown in the below image.
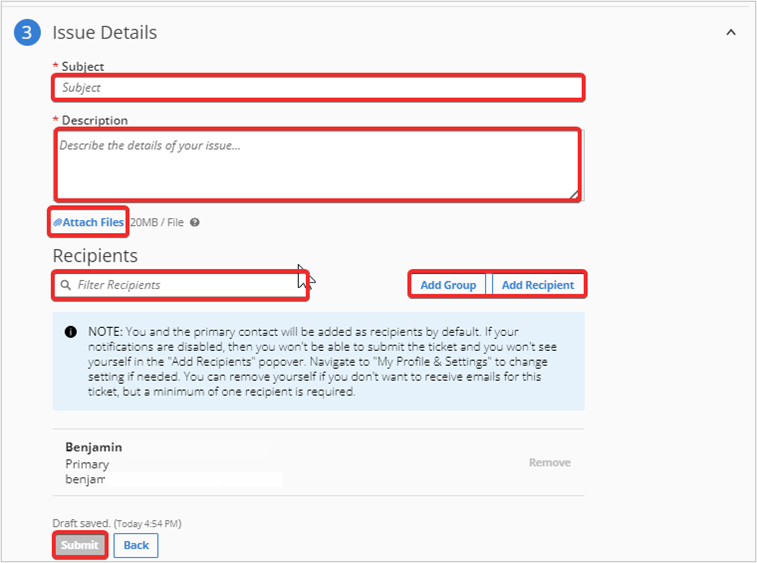
Step 5. In Issue Details section, fill in details of Subject, Description, and Recipient(s). Optionally you can upload attachments up to 20MB per file. Click Submit and your ticket will be created.
Updated over 1 year ago