Add Disk Space to a Server or Hypervisor
This article explains how to create a ticket to add disk space to a server or hypervisor.
Create a ticket in the MyRackspace portal
Step 1. Log in to the MyRackspace Portal with your username and password.
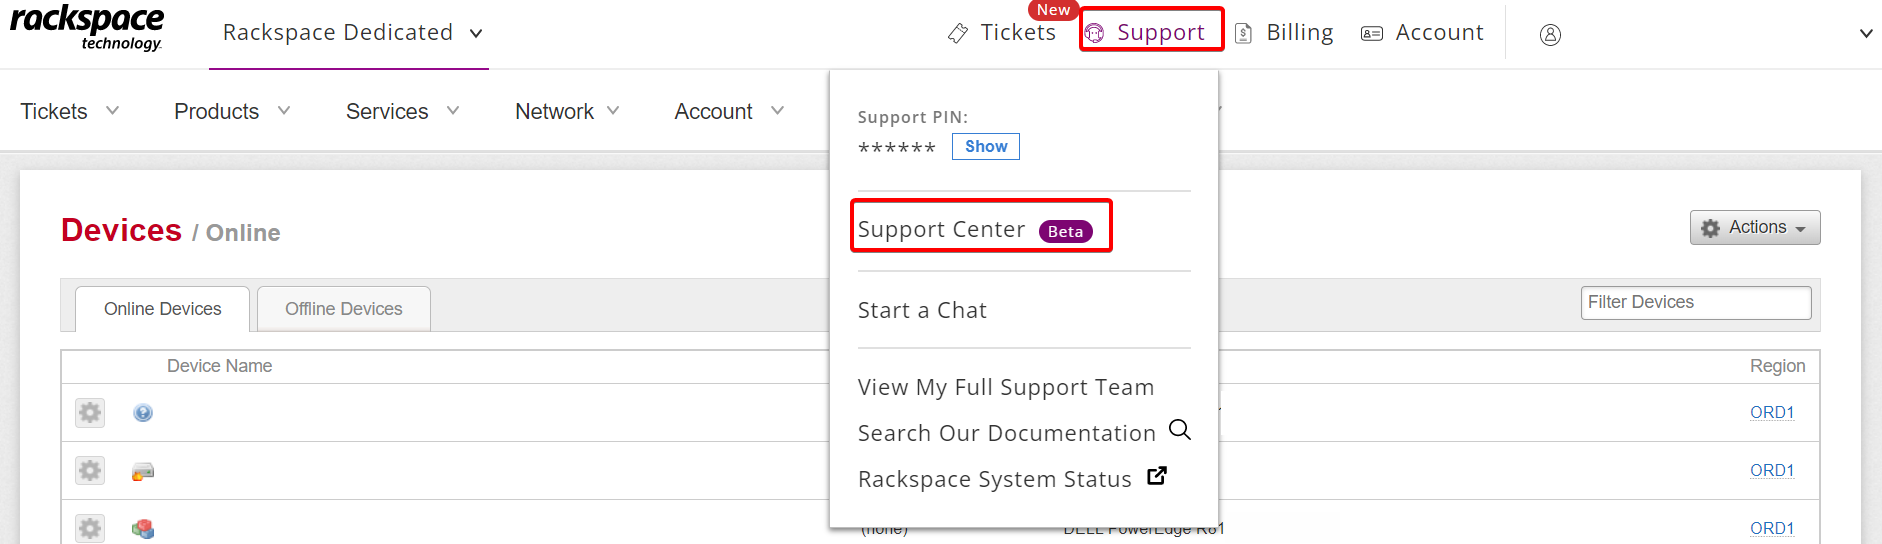
Step 2. In the top navigation bar, choose Support >> Support Center.
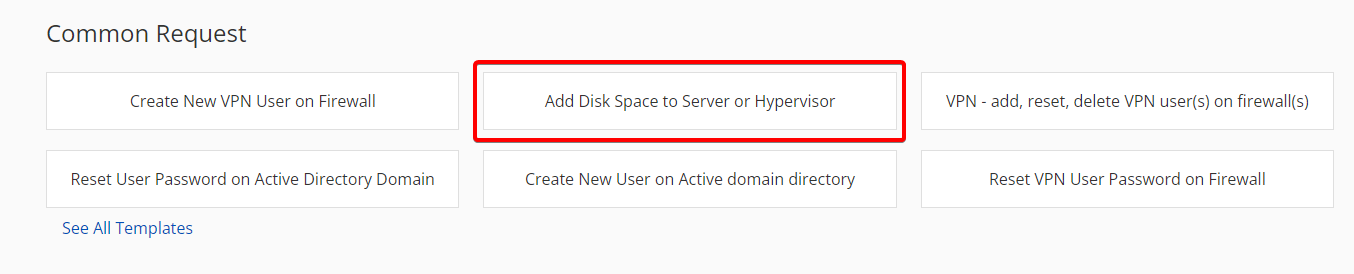
Step 3. From the Common Request menu, select Add Disk Space to Sever or Hypervisor.
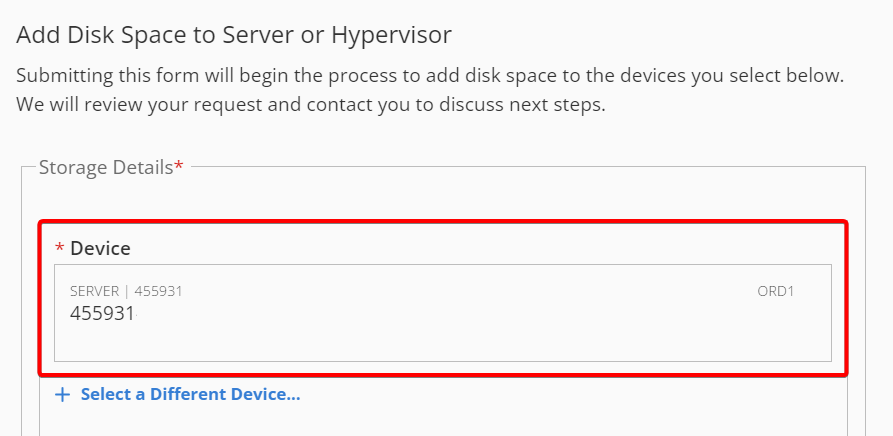
Step 4. In the Issue Details section, select a device from the drop-down menu.
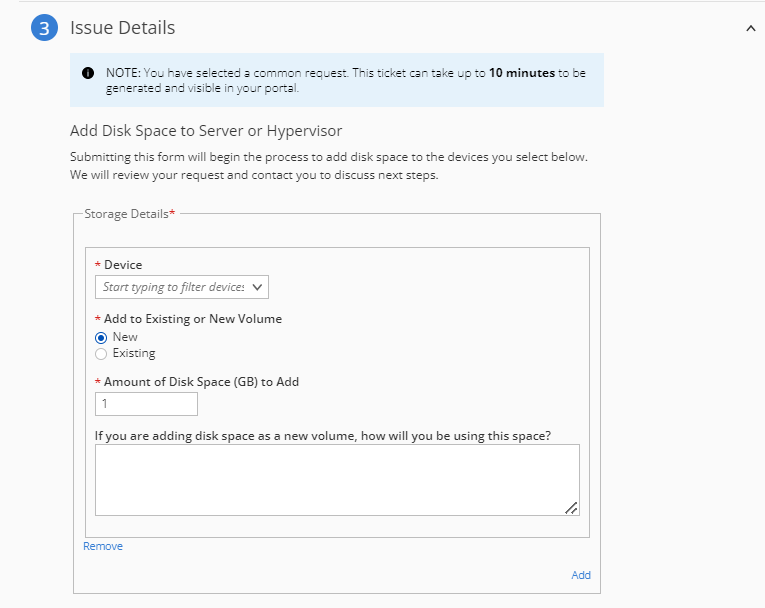
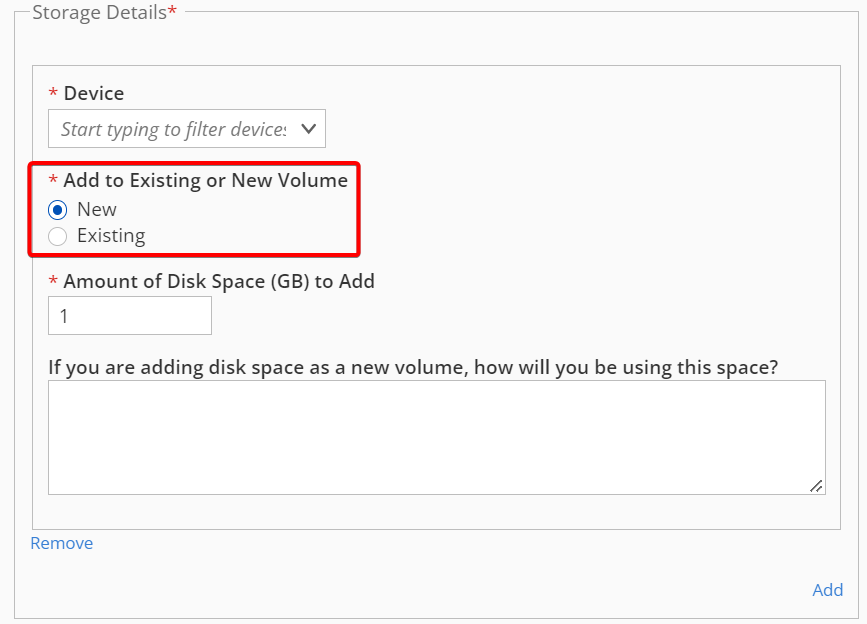
- In Add to Existing or New Volume select the radio button to add the space to an existing volume or to configure as a new drive.
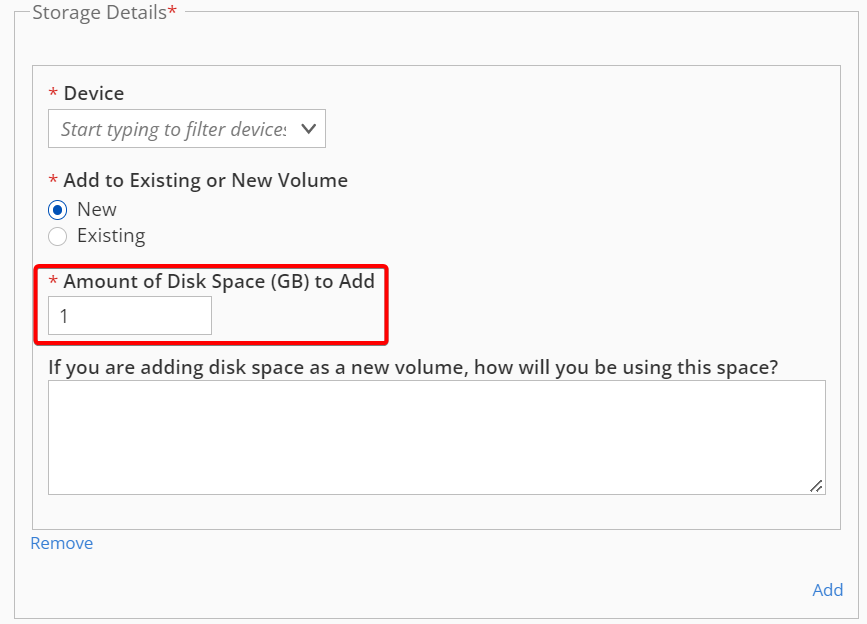
- Enter the amount of disk space needed.
- In the Preferred Maintenance Schedule section, you can choose to have the
work done at any time by selecting the Anytime checkbox. Fill out the required fields such as contact name, phone number and select the appropriate radio button as shown in following image.
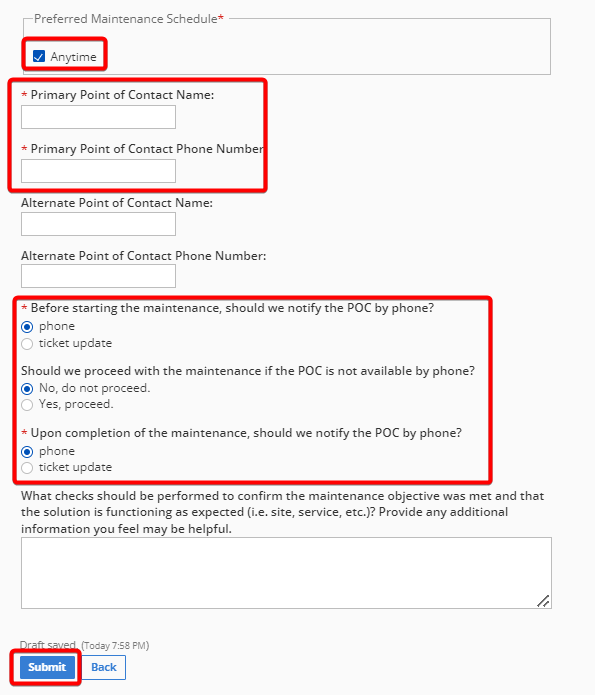
- If checkbox for Anytime is deselected, then set the preferred maintenance day and time. Fill out the required maintenance fields to have the work completed in a scheduled maintenance window.
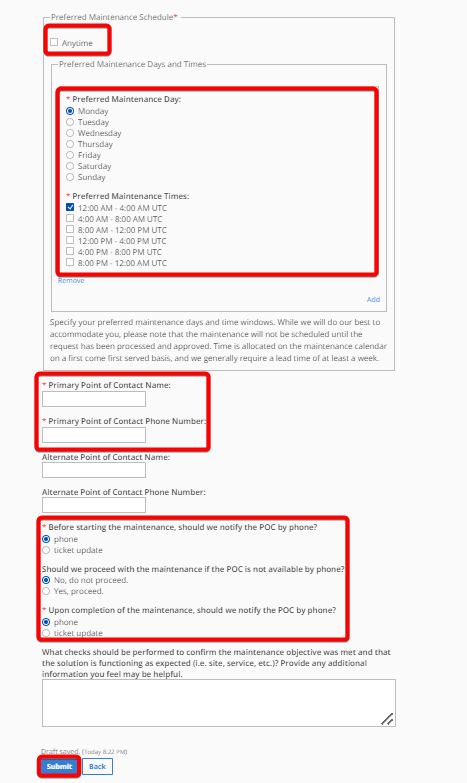
Step 5. Click the Submit button.
Updated over 1 year ago