GUI: Rackspace Cloud Control Panel
The Rackspace Cloud Control Panel is the easiest way to start provisioning cloud resources.
The Cloud Control Panel provides a simple, unified web-based interface that works in all major browsers. After you sign up for a Cloud account at www.rackspace.com, visit the Cloud Control panel to get an overview of the available products and services, create your first servers and resources, and view information about your Rackspace account.
You can also use the Cloud Control Panel to complete some important first tasks:
Obtain your API key for use with CLIs, SDKs, and APIs
Create additional account users and give them permissions if needed
Note
Users who do not have permission to use a feature do not see that feature in the Cloud Control Panel. Cloud Control Panel screenshots in technical documentation might show features that are not available to some users.
View and change resource limits
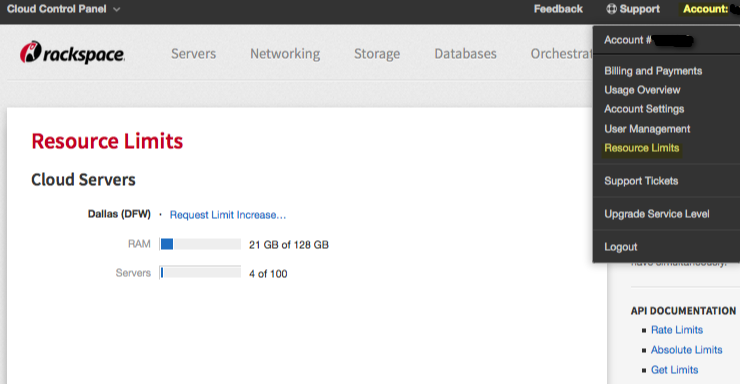
You can use the Control Panel to see your current limits and to ask to change them.
If you click the Request Limit Increase link, the system generates a support ticket with the details of your current limits. To make a change, describe what you want and submit the ticket for processing. Update the ticket to describe the change you want; then click Submit Ticket.
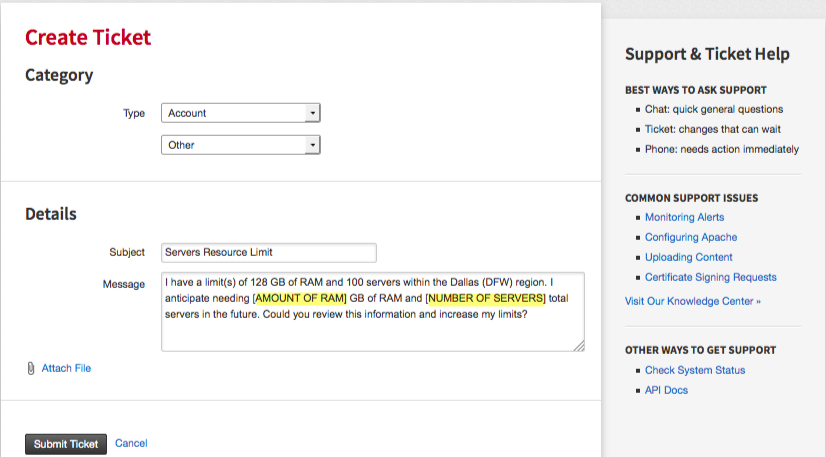
In the generated ticket, fill in the details you want to change.
The Cloud Control Panel might be the only interface that you need to use, especially if you don’t need to heavily automate the management of your cloud resources.
Note
Occassionally, high-priority messages are displayed in a banner at the top of the Cloud Control Panel window. If you see such a message, follow its instructions as soon as you can.